Contact Expert v7.6
Working with Chat Requests
Chat Tasks
Customer Perspective
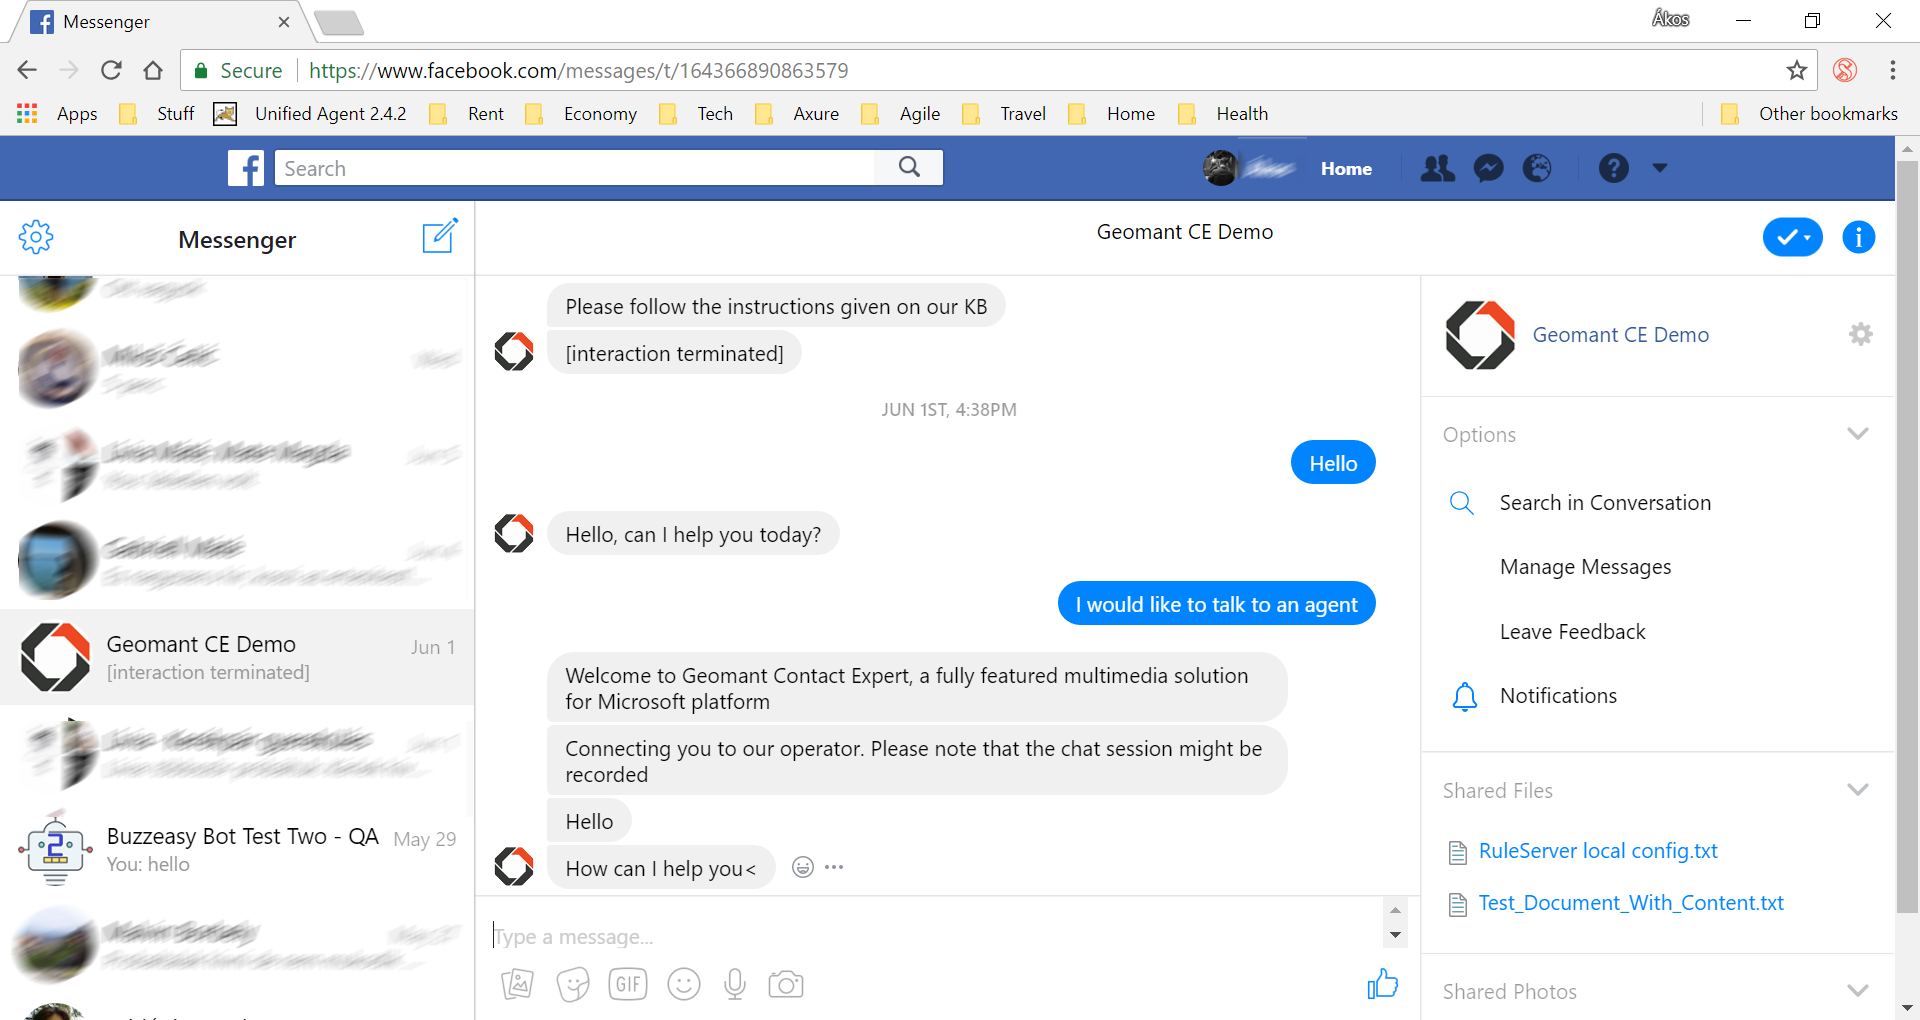
Customers can initiate chat requests via a number of alternate methods supported by CE's cloud components and any 3rd party cloud service(s) utilized. These could be things like chat bots embedded in major social media providers and CRM systems, webchat controls embedded in a corporate website, etc.

Agent Perspective
If you are working with chat media queues, Contact Expert can assign customer chat sessions to you as inbound tasks. Depending on system settings configured by the supervisors, you can work with a single chat task or multiple chat tasks in parallel.
The application window is composed of three areas:
- The script area at the left side of the workspace displays the agent script defined for the queue.
- The instant messaging area at the right side displays the messages exchanged with the customer.
- At the center of the screen, the customer interaction history is displayed.
Whether the chat pane floats or docks into the Agent Application is governed by the Dock chat window preference.
The chat area provides a component similar in look and feel to various different chat solutions, where you can see each text message exchanged between yourself and the customer during a particular chat interaction or conversation.
Undocking the Chat Interaction Frame
As described in Agent Application overview, the section of the Agent Application where the exchange of chat text messages are performed can be popped out from the application, opening up in a dedicated window. This helps when there are multiple applications that needs to be worked with at the same time - e.g. a CRM suite - and the CE Agent App is often hidden.
- While working with a chat interaction, click the Dock chat window item in the Preferences tab.
- You can toggle the docking state of the chat interaction frame by clicking this preference multiple times.
Answering Chat Requests
As opposed to the voice media, when an agent is available to take a chat request, it will be answered by the Agent Application automatically regardless of whether it is running in auto-answer mode or not. You do not have to do anything, the new chat task is opened up for you.
Contact Names
Whenever a new incoming chat interaction is received, the system updates the contact's name in the database to the value received from the cloud components. The only exception is when there are already multiple – more than 1 – contact records in the database with the customer's URI. In this case, you need to select the contact belonging to the customer and update the contact's name (if needed).
Contact Expert and 3rd party cloud service providers Geomant is using to provide the chat functionalities might generate SIP Uniform Resource Identifiers (URIs) – or 'chat handles' – automatically. These look like random alphanumerical characters and are there to make sure the chat session can be uniquely identified regardless of whether the customer supplies a name. This means that for contacts participating in a chat conversation, the SIP field is not a personal data, it identifies a chat interaction session.
In addition, whenever a chat bot files a callback request pertaining to a single existing contact with a default name ("INBOUND_CONTACT" or "OUTBOUND_CONTACT"), the system updates the contact's name to the name passed by the bot.
Tip
The contact name will not be overwritten for the callback request if it already has a non default value.
Transferring Files
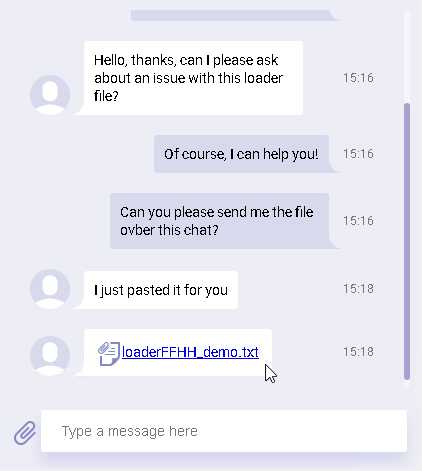
In addition to exchanging text messages, you can attach files into the chat conversation area that becomes downloadable for the customer. Depending on the solution from which the customer is initiating the chat request – a social media platform, a corporate website, etc. – the customer might also have the option to attach files that you'll be presented with as a downloadable link in the chat area.
Sending documents in the chat interaction
- Click the attach (paperclip) icon next to your message typing area, or simply drag and drop the target document into the text input area.
- If the attach icon was clicked, a file browser window opens up. Select the file to send.
Receiving documents in the chat interaction
- If the customer attached a document in the chat interaction, the file name shows up for you in the form of a clickable link.
- Click the link. A dialog shows up asking what to do with the file – either click Open or Save depending on which of these options you'd like to perform with the file.

Working with Multiple Chat Tasks
When the functionality is enabled by the supervisors, you will be able to work on more than one chat task in parallel. You know whether the multiple chat feature is enabled by looking at the Next button in the Operator Status section of the toolbar while working on a chat task. The button is enabled if the functionality is active, and disabled when not. When active, the system can offer chat tasks to you in two different ways: manual or automated.
Additional Chat Tasks Loaded Manually
In manual mode you decide if and when you wish to let a second chat task arrive while already working with one. You can mark yourself ready and available for new chat tasks by clicking the Next button. This will let the system know that it can pass a new chat task to you even while you are busy with a previous one.
Additional Chat Tasks Loaded Automatically
In automated mode the system will accept any new chat tasks on your behalf as and when they arrive up to a maximum number of parallel chat tasks established by the supervisors.
Switching Between Chat Tasks
When having multiple chat tasks, each will have its relevant chat task forms including the script, history and chat interaction areas organized into tabs in the agent application. You can switch between them by clicking the tab headers.
When you also log in to other media channels, it becomes possible to work with even more tasks – and therefore task tabs – in parallel, for example 2 chat, an email (or more, if email parking is also enabled) and 1 voice.
Your state becomes Available after receiving a chat task in automated mode – or after you click Next in manual mode – so if you are also logged in to other media channels, e.g. voice or email, it is possible you'll receive tasks from these.
Multitasking Limitations
Being able to work on multiple tasks is limited to the chat and email media tasks, but is not available with voice calls.
When you are having a voice task and are actually busy in a voice call, no new tasks will be assigned to you of any kind until you close the voice task first.
When having multiple tasks, and there is a chat task in the background – its form is not the one brought forward – and the customer is sending a new message in that background chat task, then the application will warn you by blinking the background of the tab header of the chat task.
Chatting with the Customer
When receiving a chat task, you will be presented with a chat interaction area filled with every previous chat message exchanged between this customer and all the agents who handled those previous tasks. Use this area to type your messages to the customer.
Make sure to hit the Enter key to send your message.
Chat Transcript in the Chat Frame
When scrolling up in the chat frame, the historical chat transcript data is dynamically loaded from the cloud. The more you scroll up, the more data is loaded from the past. These might take a few seconds each time, depending on network latencies.
The customer is not necessarily presented with the concise history of all the previous interactions – that depends on what social media platform / communication system the customer is using for the chat at the moment. It is best to assume the customer is not aware of the history, even if it is presented to you.
Chat Phrases
In case your supervisor set up predefined texts that can be sent to customers in certain situations – like if there are strictly phrased statements, long messages, etc. that need to be entered precisely and/or a lot of times – you can have them inserted into the chat interaction area with a simple click and select to avoid typing them and any potential typos.
- Click into the type area within the chat interaction frame.
- Click the Phrase list dropdown in the Chat tab of the toolbar, in the Phrases section.
- Select the desired phrase item.
- The text is pasted into the typing area and can be sent to the customer.
Chat Transcripts in Contact History
Even though you are presented with all the previous chat interactions in the chat frame, you can also see the list of the previous interactions with the customer in the Contact History area including those that were not performed over the chat media channel. It is possible to filter the table to present only chat items.
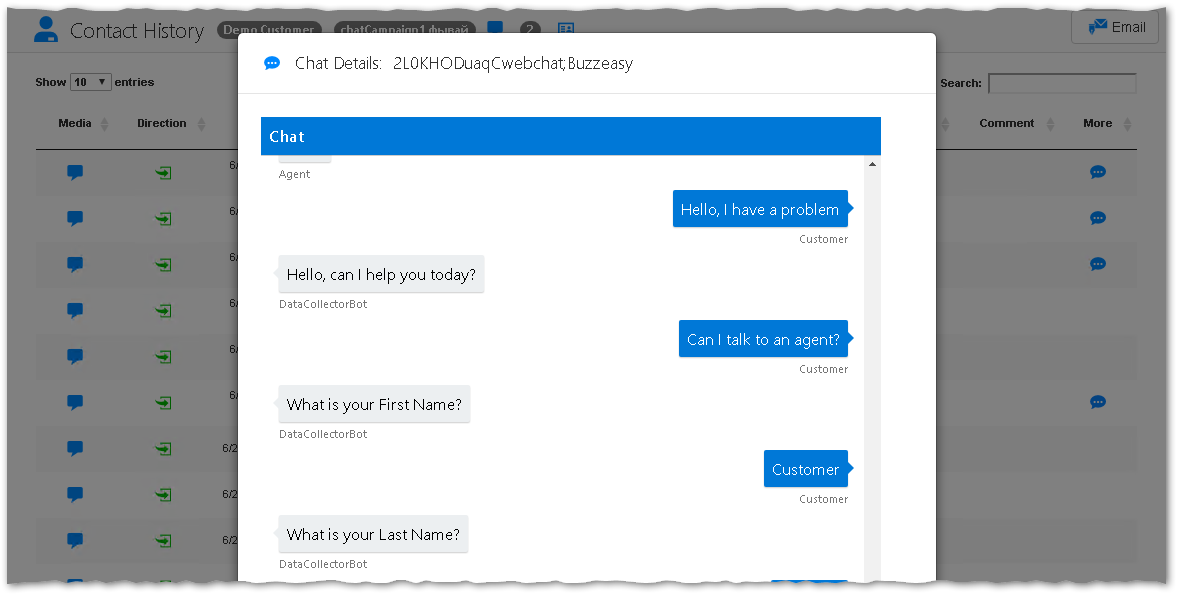
The Contact History entries contain the a snippet of the transcript of those historical interactions and can be opened from the history area while the chat task is active. If you would like to read the transcript of a previous chat session, click the ![]() icon of the relevant history record. A new dialog containing the chat transcript will open.
icon of the relevant history record. A new dialog containing the chat transcript will open.
The historical chat transcript might need a couple of seconds to load into the transcript dialog window, depending on network latencies on the Internet.
Note
It is not possible to view the historical chat transcripts after the chat task is closed. The Customer History section of the Lookup form does not present the option while in Break.

Closing the Chat Session
You can disconnect the chat session at any time. Use the Drop button in the Chat Control section of the toolbar to close the ongoing chat session – the customer will receive a standard terminate message and the session closes.
Completing the Chat Task
On completion of a chat task, the closure window will pop up allowing you to perform the wrap-up activities with the business tagging. Read more about completing the task.
Unlike voice and email tasks, ongoing chat interactions cannot be rescheduled on the closure code selection dialog by the agents. However, CE provides the ability for customers to opt for requesting a (voice) callback instead of engaging in a chat session.