Flow menu
In the Flow Menu, you can create system-level integrations.
It is an easy-to-use, user-friendly, and highly customizable service, which uses an intuitive user interface for you to design your unique workflows very fast. You can implement more complicated business logic like responding to a sensor event, invoking a webhook, creating more complex workflows, and more.
Where you can find it:

Here, first, you need to login with the credentials we gave you when we installed the system. (If you forgot the password please contact supportdesk@geomant.com There is only one common administrator user for flow/server.)
Interface:
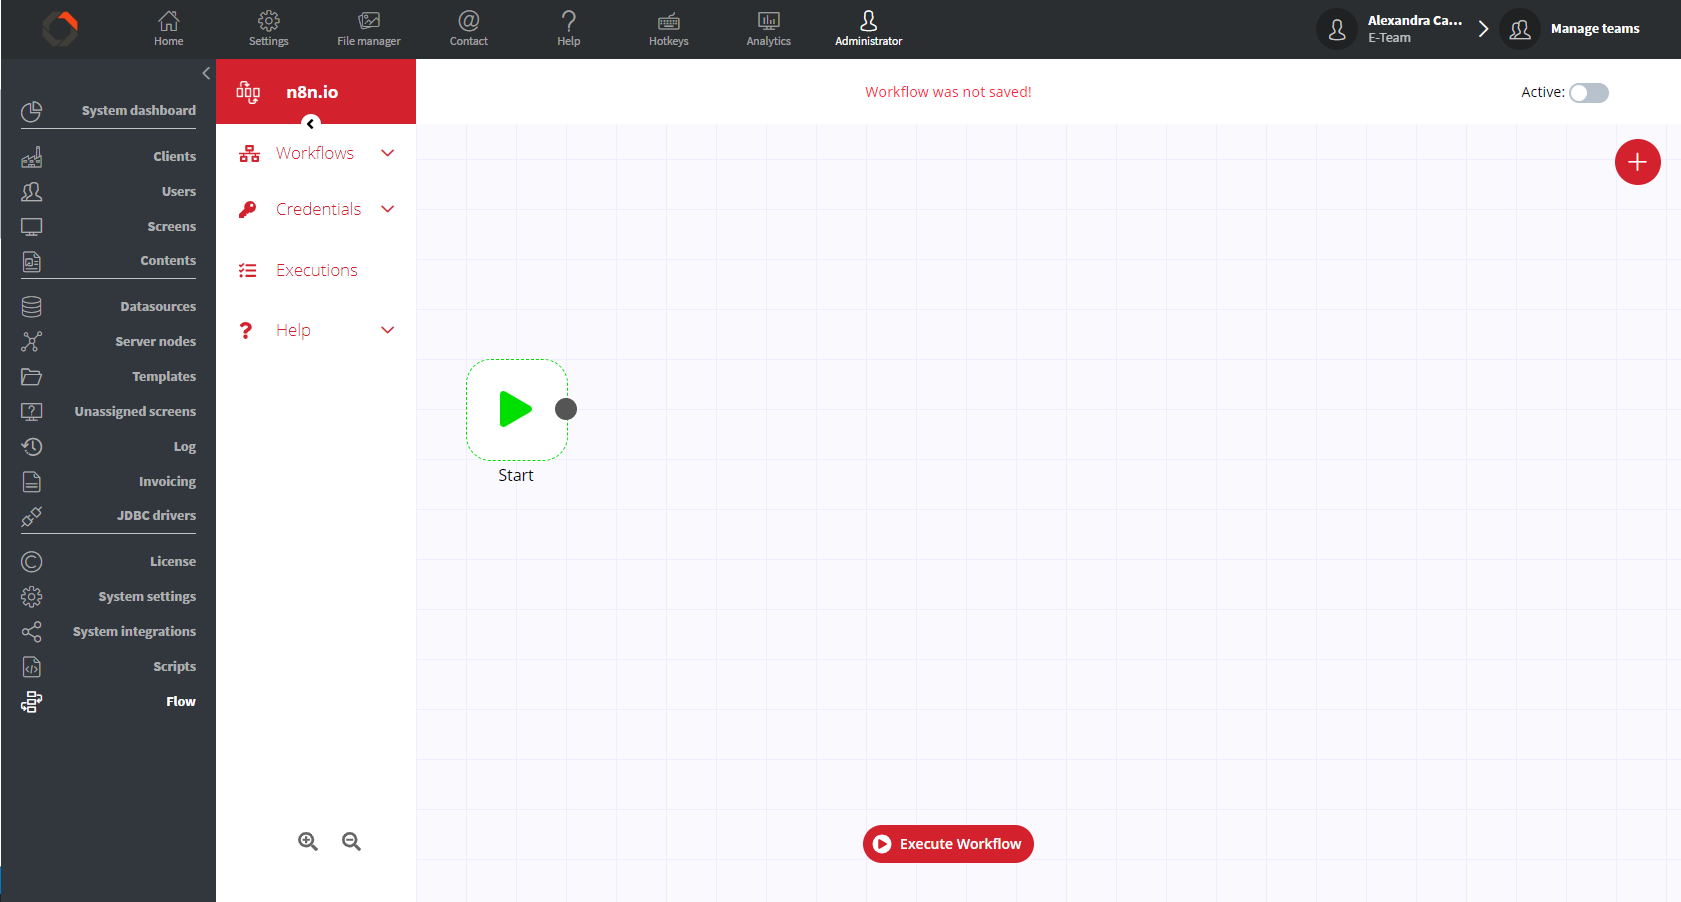
- Workflows: In this menu, you can manage your Workflows.
- Credentials: Here you can manage your Credentials.
- Executions: In this menu, you can look at your Execution history.
- Help: Here you can find some documentation.
How to create a workflow:
A workflow is a canvas on which you can place and connect nodes. A workflow can be started manually or by trigger nodes.
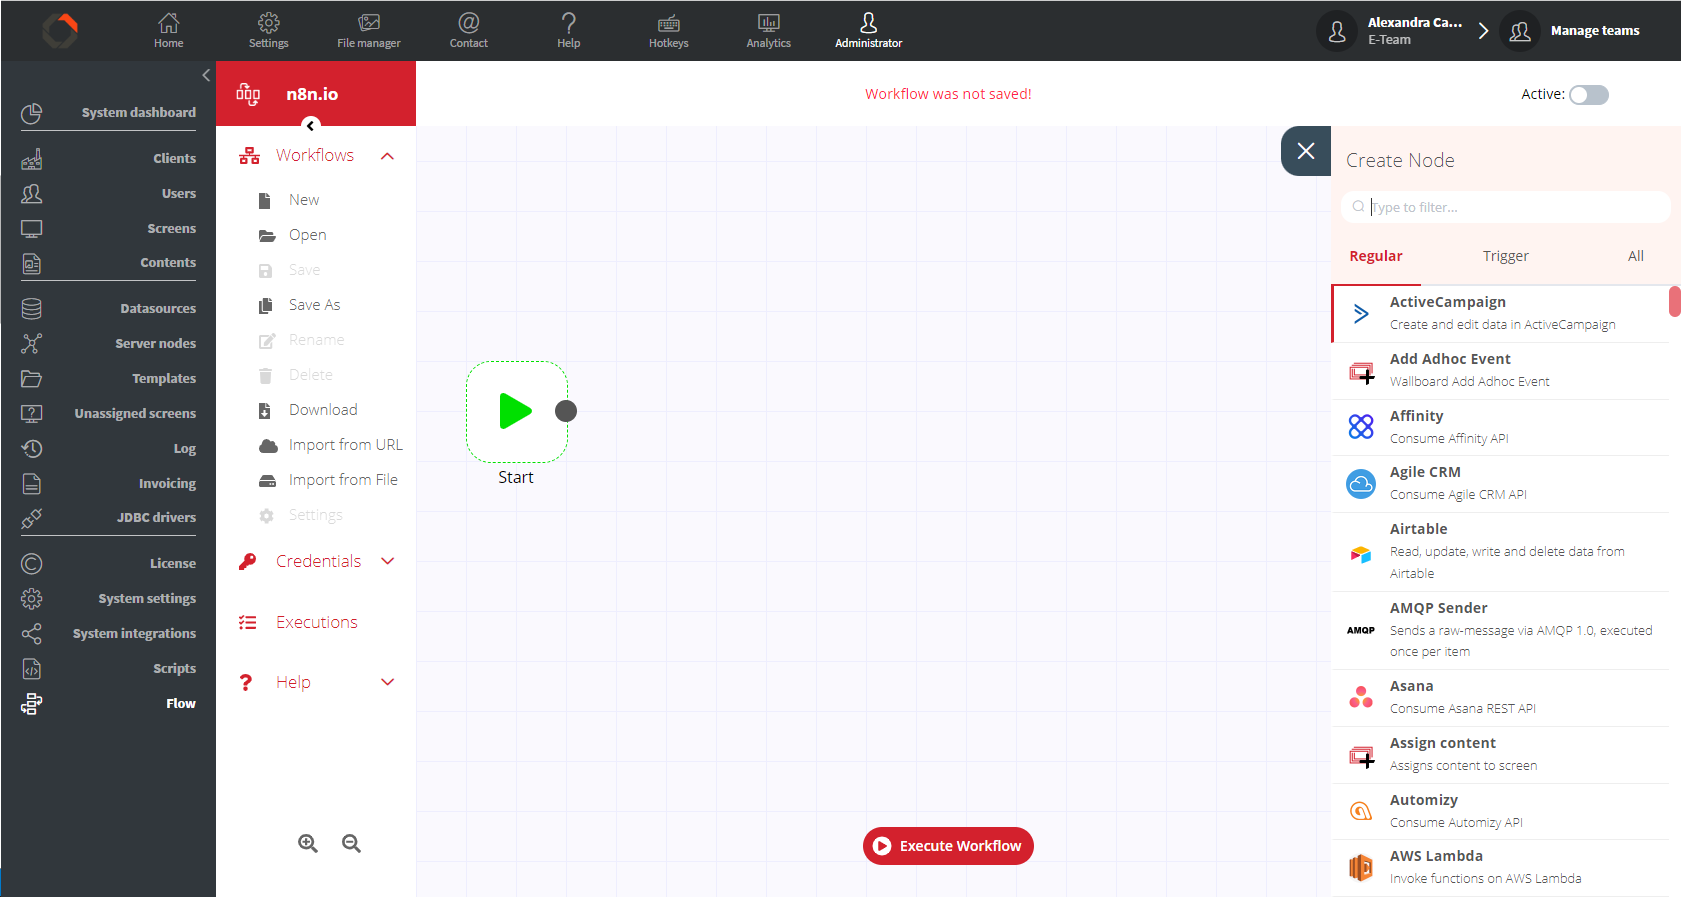
You click on the New in the Workflows menu and you get a blank interface. With the

button, you can add nodes that can be triggers and regular nodes. A trigger node is a node that starts a workflow and supplies the initial data. What triggers it depends on the node. It could be the time, a webhook call, or an event from an external service.A regular node is an entry point for retrieving data, a function to process data or an exit for sending data. (There is also some Wallboard node that we created specifically for our system.)
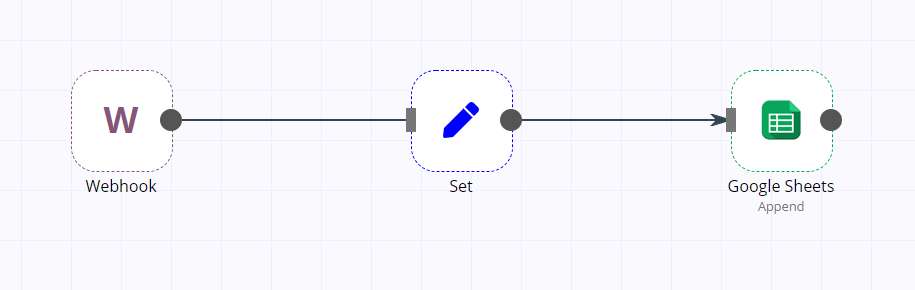
Below, I will show an example to create a workflow with webhooks for send data to a spreadsheet:
We will need Webhook | Set | Google Sheets nodes.
In the Webhook node, we set:

Webhook URLs: You can see and copy the Webhook URL here. HTTP Method: GET or POSTPath: this string will be on the end of the webhook URL Response Mode: On received or Last Node Response Data: All Entries / First Entry JSON / First Entry Binari In Set, we can configure the received data. Like dates, values...etc.
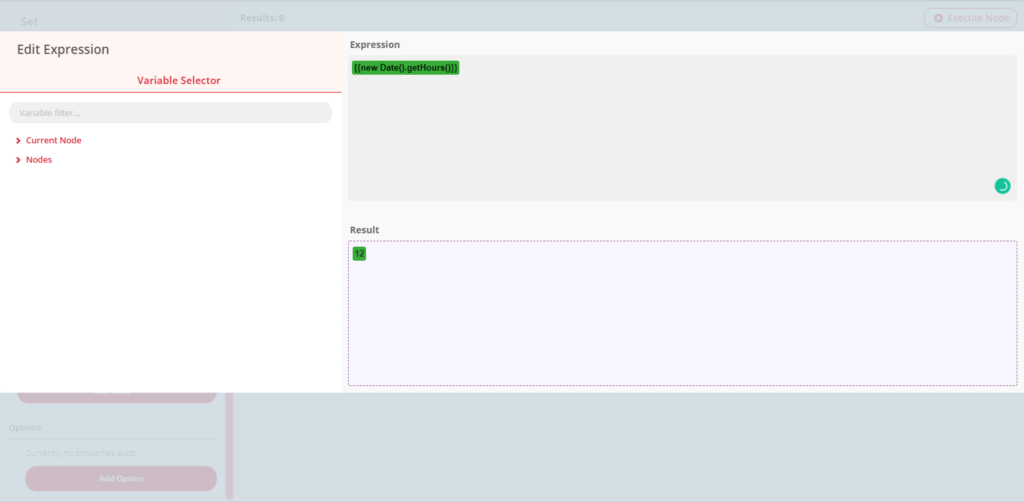
Like here, I add a Number to my Set and give it a regular expression with JavaScript to get the actual hour.{{new Date().getHours()}}
After this we set up the Google Sheets:
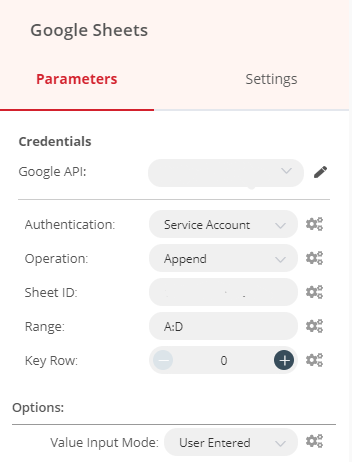
We need to give the Google API. The operation we want to do with the spreadsheet (Append, Clear, Delete...etc) Need to give the spreadsheet's id. The range we want to append the data. Lastly the Value Input Mode. After all these steps, your Workflow is ready to use. If you want to see more examples and use cases, click on the LINK. Some example for use-cases:
- You can easily connect your extracted data as a datasource in our system. For example, you want to see some specific rows and columns, so you will create a workflow like above and set your spreadsheet operation to Lookup and configure it for you like.
- You can also do, that call this webhook from our System integrations menu and this will report it to your spreadsheet.
- If you use an SMS or email node in your workflow. You can easily send SMS and emails to your partner with a single button via the content editor editor using call API action.