Wallboard Configuration - Desktop Connect for MS Dynamics CRM
Overview
This document describes the steps to configure the Dashboard of the Desktop Connect for Microsoft Dynamics CRM.
Wallboards
After a successful login to both MS Dynamics and Desktop Connect, you will be able to create dashboards for the Desktop Connect queue tab.
The Wallboards feature is available from the menu ribbon.

Setting up a New Dashboard
Creating a New Dashboard
Navigate to Settings → Wallboards using the menu ribbon on the top of the page.
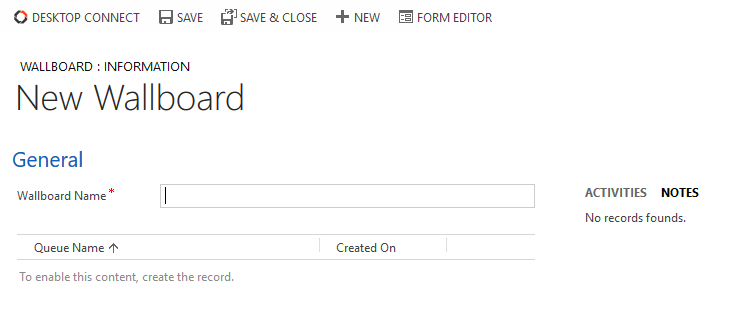
Click on +New.
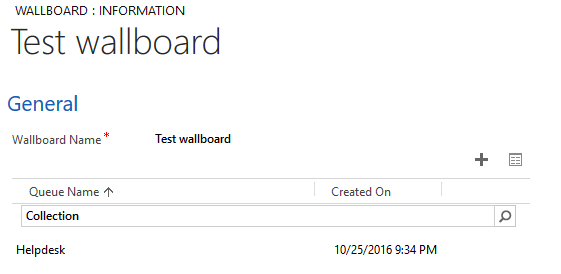
Enter the designation of the wallboard that is the name of the related queue of which details are to be displayed.
Click on Save.

Setting up a Queue
A Queue represents a specific business unit of a call center in which a group of agents are working in a particular skill. Calls are handled via this line. For example, Collection or Helpdesk.
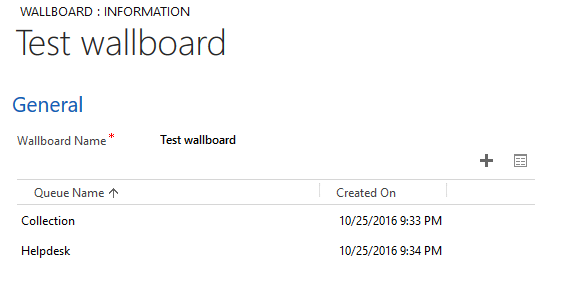
Queues need to be added to the relevant dashboard in order for it to operate properly.
Creating a New Queue
Navigate to Settings → Wallboards using the menu ribbon on the top of the page.
Click on the specific dashboard to which you would like to add queues.
Click on the Create a New Queue (+New) button in the bottom-left corner of the search panel.
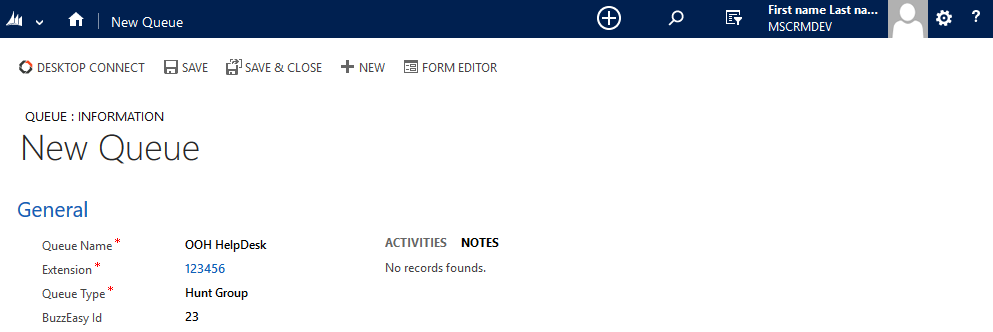
The New Queue configuration page will appear in a separate window.
Specify the details described below in the table.
Click on Save.


Specify the following details of the new queue:
| Queue Name | The name of the specific CC queue to be associated with the dashboard. |
| Extension | The extension number that handles the calls related to this specific queue. |
| Queue Type | The type of the extension. It can be either a Hunt Group or VDN. |
| Buzzeasy ID | Specify the Buzzeasy ID referring to the Buzzeasy Service Queue. |
Read about Buzzeasy ID on the following article: Buzzeasy ID
Associating a Queue to the Dashboard
After a successful creation of the new queue, it has to be associated with the dashboard.
Assigning Queues to a Dashboard
Navigate to Settings → Wallboards using the menu ribbon on the top of the page.
Click on the specific dashboard to which you would like to add queues.
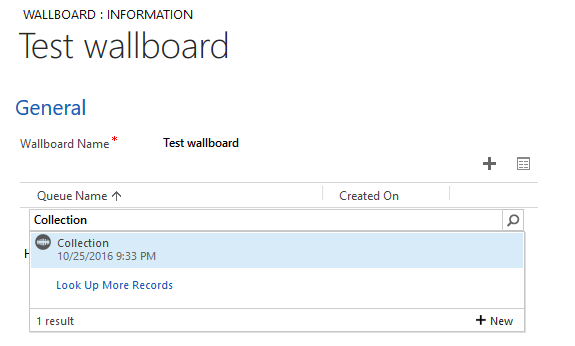
Click on '+' sign and enter the name of the newly created queue in the search field.
Click on the magnifier button to see search results.
Click on the relevant queue in order to add it to the dashboard.
