Installing Desktop Connect Express
Before you begin
Before you start installing Desktop Connect Express please review the Prerequisites - Desktop Connect Express list.
Setup Desktop Connect Express
To install Desktop Connect, locate the desktopconnect.exe, make sure all dependencies are copied to the folder where the exe file is located (all dependencies are stored in the “misc” directory), run desktopconnect.exe and follow the simple installation Wizard – see step-by-step instructions below:
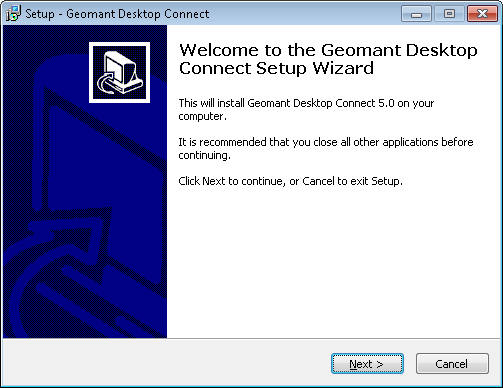
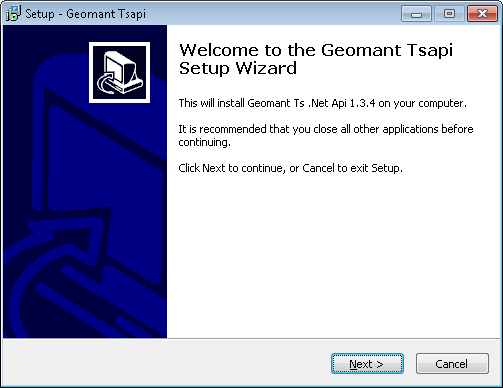
Double click on desktopconnect.exe and the following screen will be displayed. Press Next to continue.
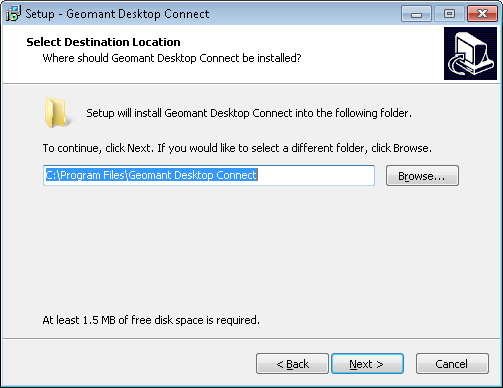
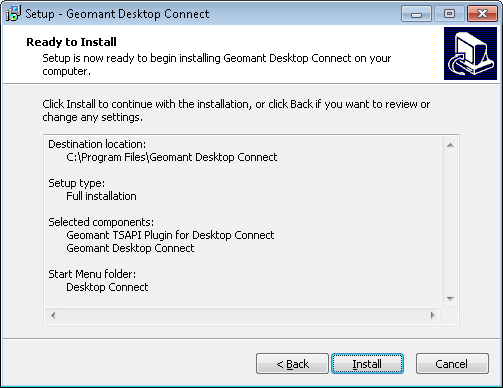
You will be requested to confirm the directory location for Desktop Connect. Generally Desktop Connect is installed in the [Program Files] folder. However, you can install in a different directory if required using the Browse button to find the location you would prefer. Once you are happy with the directory where Desktop Connect will be installed and the installation profile, press Next.
The Desktop Connect installer will install the following components
- Geomant TSAPI Plugin
- Desktop Connect
The Geomant TSAPI Plugin is needed to establish a communication channel with the Avaya TSAPI Client, responsible for inbound call integration
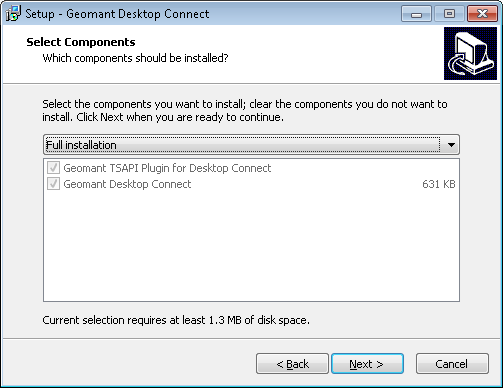
To confirm your selections and start the installation process, press Next.
If the Geomant TSAPI is missing from the system the installer will run the Geomant Tsapi installer
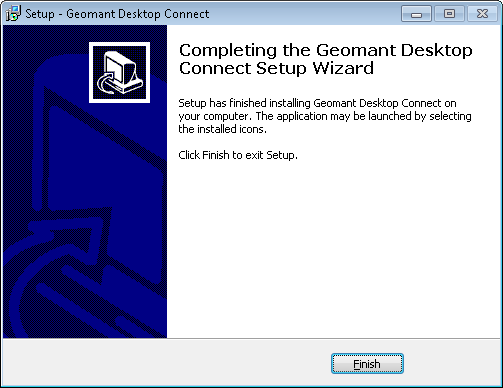
When the installation has successfully completed, the following window will be displayed. Click on Close to complete the install.
License installation
When Desktop Connect Express is run without a valid license or demo license:
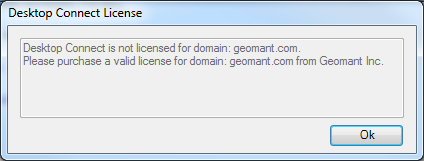
This screen can be closed and Desktop Connect Express will continue to operate. However, this screen will be displayed each time Desktop Connect Express is started. To obtain a license file, send your fully qualified domain name, displayed in this window (e.g. geomant.com) to Geomant to obtain your License file.
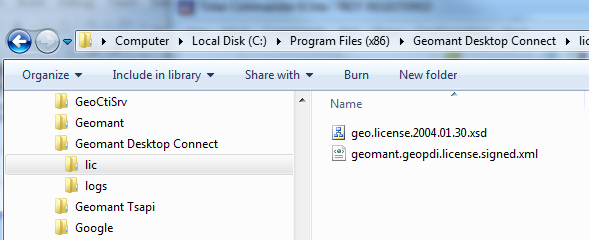
Once the license file is obtained (geomant.geopdi.license.signed.xml), it has to be copied to the Desktop Connect Express license directory, the license directory can be found [Desktop Connect Express install directory]\lic
The CTI integration module is licensed separately, the Geomant TSAPI .NET license needs to be obtained in the same manner as the Desktop Connect license, once obtained (geomant.tsnetapi.license.signed.xml) needs to be copied to the relevant Geomant TSAPI .NET API license folder [Geomant TSAPI .NET specific version directory]\lic
Configuration server installation
The configuration settings for Desktop Connect can be administered on a centralized webpage rather than from the local .ini file installed on each client PC. To enable this feature the GeoPDI.war file must be installed on at Tomcat web server. If WebLM is installed on the Proactive Contact 4.x system, this Tomcat server can be used. The installation instructions below assume Proactive Contact Tomcat web server is used.
- Install and enable the Tomcat service using the Proactive Contact instructions on how to install WebLM
- Login to Proactive Contact as sroot using a telnet or putty session
- Check that the/opt/coreservices/tomcat-5.5.9/webapps/ *directory exists. This can be reached by using *cd $CATALINA_HOME If not recheck the Tomcat installation
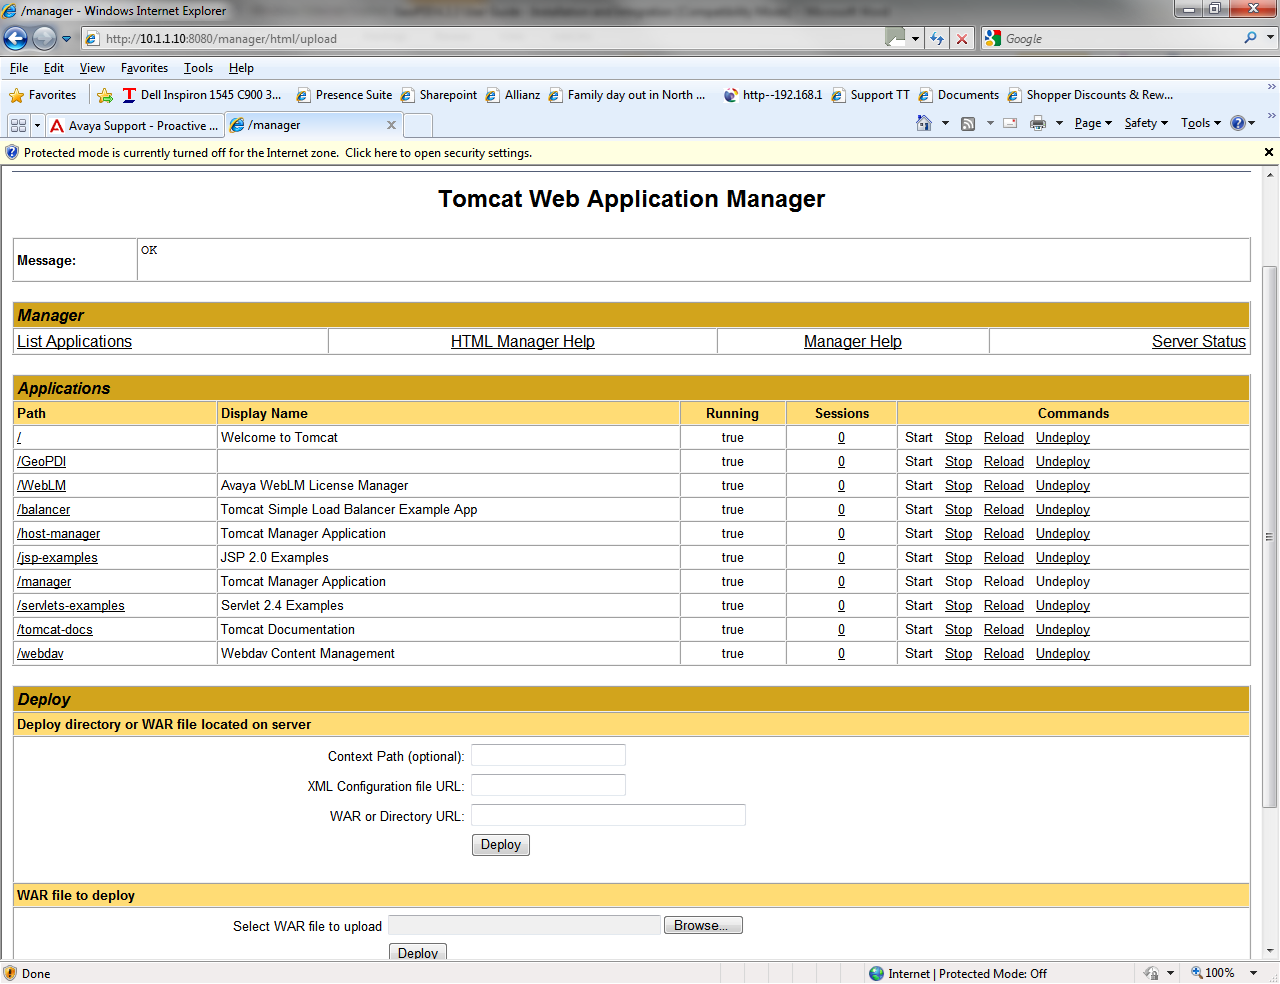
- Use a browser to connect to the URL http://{hostIP}:8080/manager/html,where {hostIP} is the IP address of the Tomcat server (usually the same as the dialler IP address
- Login as User ID: admin and Password: admin
- Go down to the section titled “WAR file to deploy” Click on Browse and locate the .war file provided on the Desktop Connect installation disk, press “OK” and then “Deploy” to install the WAR file.
- On the Applications list you will see the /GeoPDI Application
- Change the following parameter in the web.xml file located in */opt/coreservices/tomcat-5.5.9/webapps/GeoPDI/WEB-INF/ *directory:
`<context-param><param-name>inidir</param-name>`

`<param-value>/opt/Avaya/pds/customs/GeoPDI/</param-value>`

`</context-param>`

`<context-param>`

`<param-name>savedir</param-name>`

`<param-value>/opt/Avaya/pds/customs/GeoPDI/</param-value>`

`</context-param>`
- Login to Proactive Contact as root using a telnet or putty session and create the following directory /opt/avaya/pds/customs/GeoPDI
- Create the following directory /opt/avaya/pds/customs/GeoPDI/XML
- Type the command chmod 777 /opt/avaya/pds/customs/GeoPDI/
- Type the command chmod 777 /opt/avaya/pds/customs/GeoPDI/XML
- Copy the GeoPDI.ini configuration file to be used and administered centrally to the /opt/avaya/pds/customs/GeoPDI directory
- Use a browser to connect to the URL http://{HostIP}:8080/GeoPDI.This will show the GeoPDI.ini file settings which can be modified and saved.
- Add the following to the local GeoPDI.ini file saved on the PCAgent PC’s. *ConfigURL=http://{HostIP}:8080/GeoPDI/Config. * This will point the GeoPDI software to use the server settings rather than the local settings.
Blending service installation
The Blend Skill Web Service is to provide a solution that automatically manages the outbound agent blend acquire skill so that when logged into the dialler the blend acquire skill is enabled and when not logged into the dialler the blend acquire skill is disabled.
Installing the Geomant Blend Skill Web service:
- Locate the Tomcat web application directory
- Copy smswsc.war (self deploy package) file to the web application directory
- Restart the Tomcat service
- Copy smswsc.properties (located in [TOMCAT]\webapps\smswsc\WEB-INF\classes) to the Tomcat root directory
- Configure smswsc.properties
Configuring smswsc.properties
The smswsc.properties file contains information about the AES SMS service, properties file includes the following properties:
| Value | Description |
|---|---|
| sms.root | the base URL of the SMS service |
| sms.user | a valid CM user, with right to modify agent skills |
| sms.password | configured CM users password |
| sms.keystore | SSL keystore [TOMCAT]\webapps\smswsc\store\avayaclient.keystore |
| smsm.storepassword | SSL certificate password: avaya123 |
The following is a sample valid smswsc.properties file.
sms.root=https://10.168.3.123
sms.password=smsuserpassword
sms.keystore=c:\\Program Files\\Apache Software Foundation\\Tomcat 6.0\\webapps\\smswsc\\store\\avayaclient.keystore
sms.storepassword=avaya123
The Desktop Connect client configuration (ini) properties needed for the Blend Skill Web Service are discussed in the Desktop Connect Configuration Settings File Overviewchapter.
Diagnostic
The Geomant Blend Skill Web Service offers a diagnostic page, this page shows the root directory of the TOMCAT and provides information regarding weather if the property file was loaded successfully.
The URL of the diagnostic page is:
http://[TOMCAT_ROOT_URL]/smswsc/diagnostic.jsp

Add skill test page:
http://[TOMCAT_ROOT_URL]/smswsc/addskill.jsp

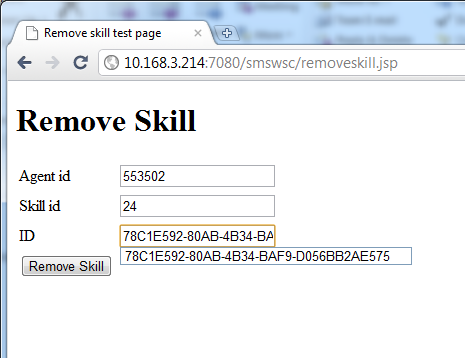
Remove skill test page:
http://[TOMCAT_ROOT_URL]/smswsc/removeskill.jsp