How to Flash WB Firmware on Giada Android Devices
Geomant does not support this feature at this time. For more information, please contact us at supportdesk@geomant.com.
This article shows step by step how to flash the Wallboard customized firmware on Giada DN73, DN74, and DN75 devices.
Tools you will need:
- A computer
- A USB male-to-male cable to connect the Giada device with your computer. No remote connection!
- A USB dongle based keyboard to navigate in the Android menu
- A screen for the Giada device
Flashing step by step
First register on our sensor designer website sensor designer website
Download the latest sensor designer from here.
Go to the Profile menu, and Request credit for flashing. Each firmware flash will require 25 credits.
Start the Giada device.
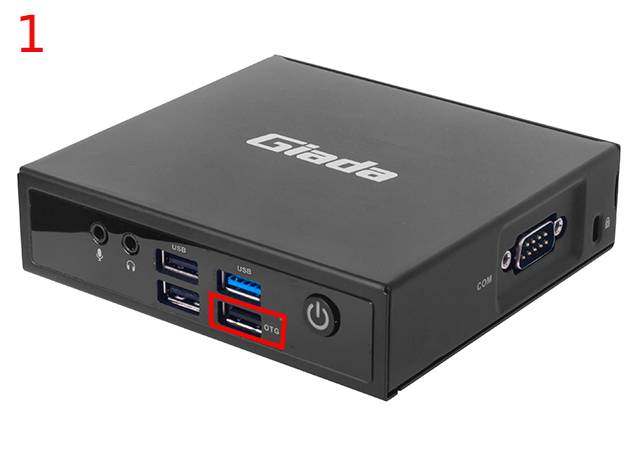
Connect the device with your computer using the USB male-to-male cable. Use the ‘OTG’ labeled USB port on the Giada device.
Please be aware that the ‘OTG Port’ placement can be different for each model.
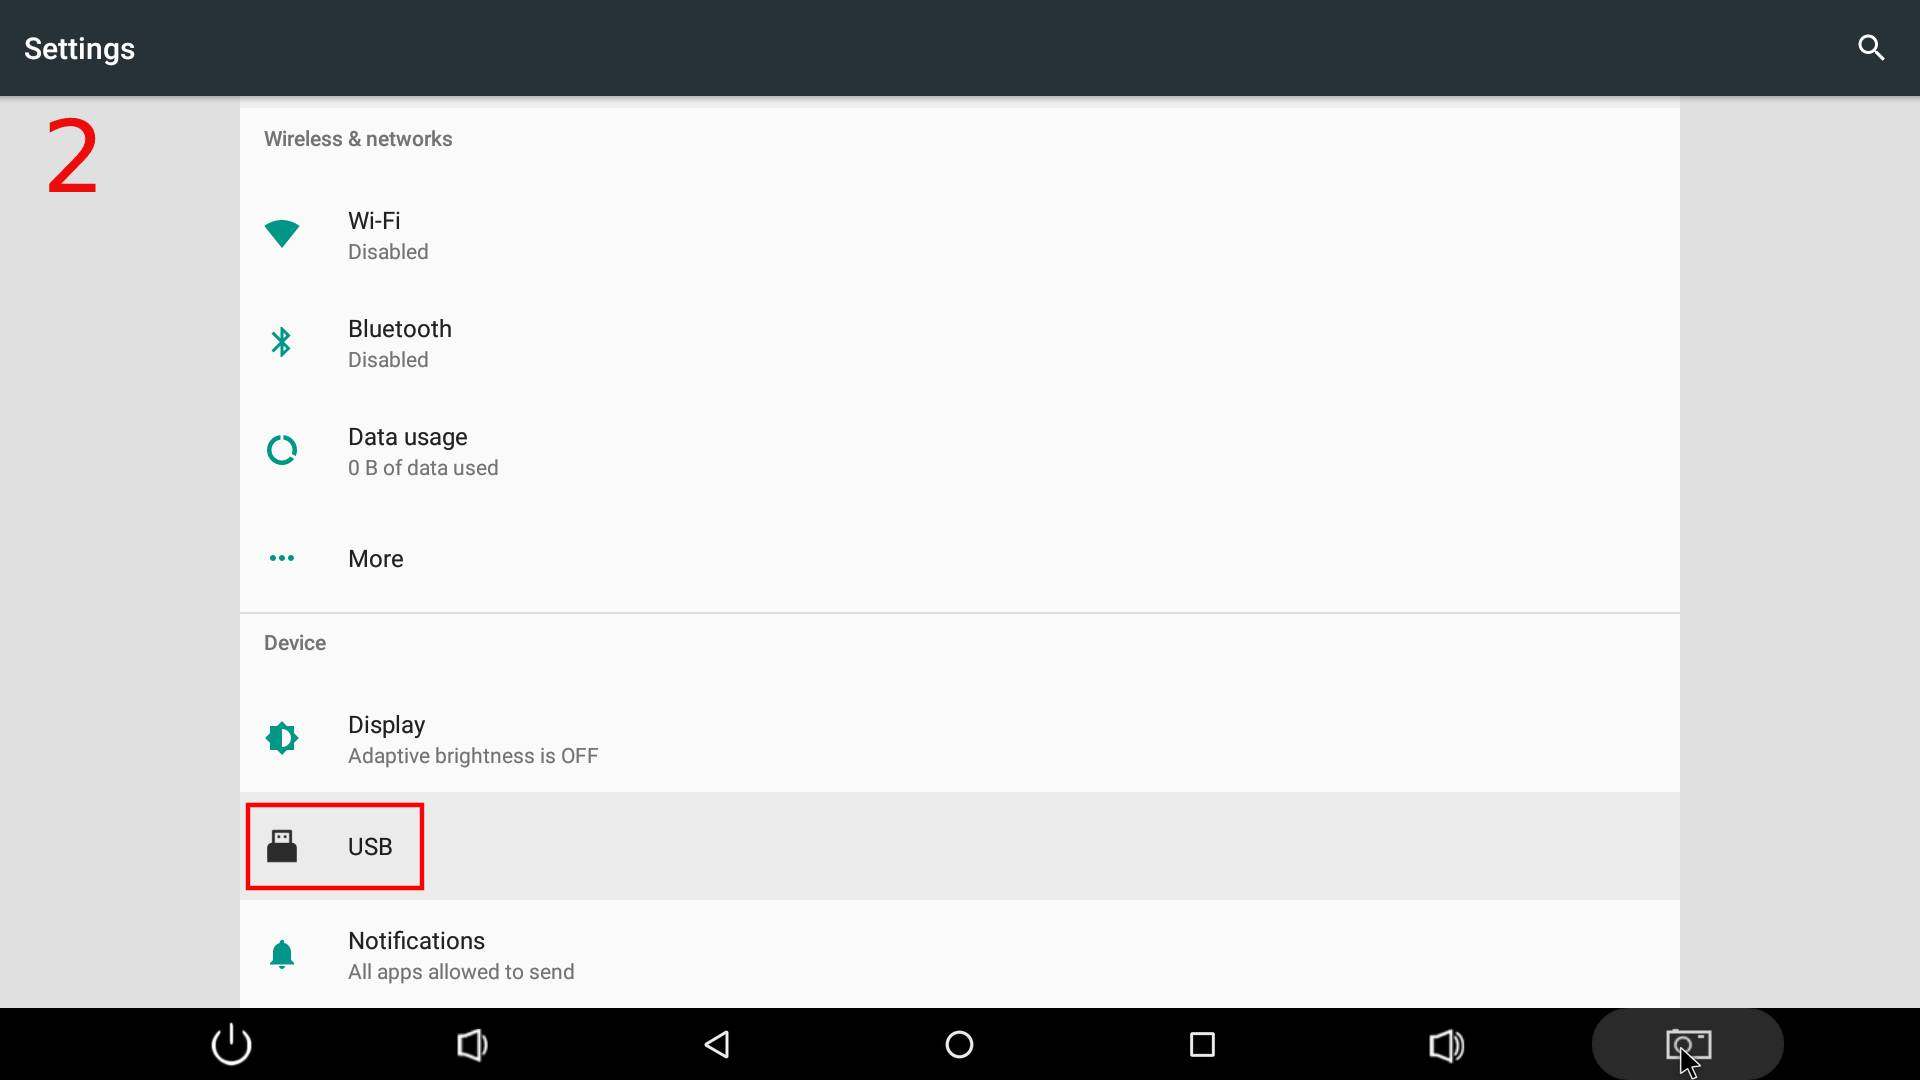
- Open the Android settings on the device and find the USB menu here and turn on “Connect to PC”.

- Install the latest sensor designer with the installer you downloaded to your computer previously.
- Start the sensor designer application as Administrator and log in with your sensor designer website credentials.
- Navigate to ‘Android firmwares’ menu.
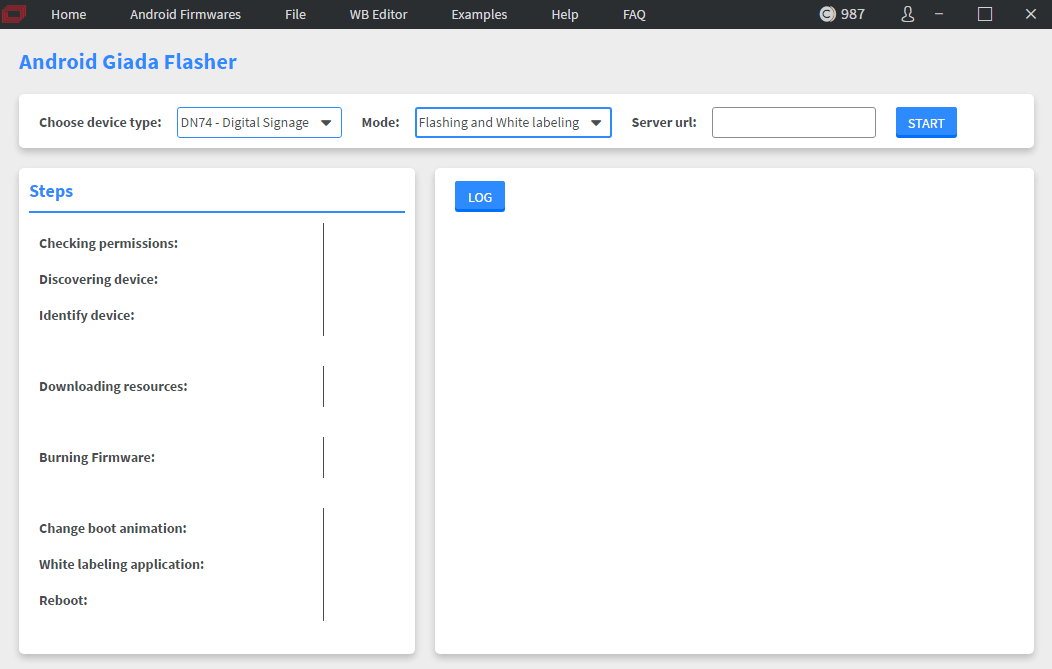
Choose the device type you want to flash, and select the mode if you want to flash Digital Signage type.
- Flashing and White labeling: Flashes the WB firmware to the device. The signage application and branding will be gathered from the given CMS server URL. The input field requires the domain of your server for example https://editor.wallboard.info
- Flashing only: Flashes the WB firmware to the device and installs the Wallboard branded signage application
- White labeling only: Installs the signage application and gathers branding from the given CMS server URL. The input field requires the domain of your server for example https://editor.wallboard.info
When you press the Start button the device will ask for permission to proceed, you have to accept this using the attached keyboard. You will have about 15 seconds to accept, if you fail, simply press the Start button again and the popup will appear again.
Now the flashing process should start, and you can track it in the sensor designer application.
- If the process hangs for a few minutes without doing or showing anything, and the device is not rebooted yet, simply press Start again to restart the flashing.
- While the application is flashing do NOT remove the USB cable from your PC or the device and do NOT turn off the device.
- If the Burning Firmware process started but shows an error and the Giada is showing a black screen:
- First click on the Reboot button in the error message.
- Remove the power cable and the USB cable from the Giada device.
- Re-attach the cables.
- Wait until the device boots in.
- Start the flashing process again by clicking on the Start button.
After the flashing is done, the device will reboot and start erasing data.
Please do NOT remove the cables or turn off the device before the signage application starts!
After the signage application started, set the configuration and register it on the server.
Check the application version of the device and update to the latest if needed.
You are done with flashing. Good job!
If you have any questions regarding this article, please contact support@geomant.com.