Installation Guide
Prerequisite Versions
The version of Java and Tomcat seen on the screenshots in this guide do not reflect the actual version required for installing various products. Please refer to the prerequisite lists on the product's page. Usually, Tomcat 8+ and Java 8+ is required. The process of installation is the same as what is described below.
Installation of the Java Runtime Environment
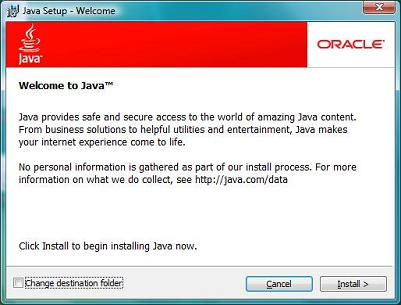
- Run the JRE Installer as Administrator.
- The installation process starts.
- Click the Install button to accept the license terms and to continue with the installation.
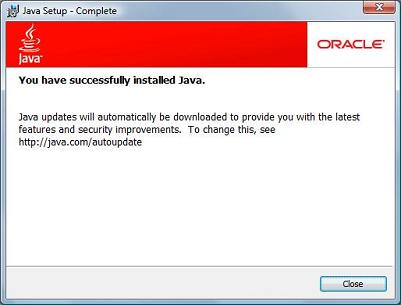
- A few brief dialogs confirm the last steps of the installation process.
- Click Close on the last dialog. This will complete Java installation process.
Installing Apache Tomcat
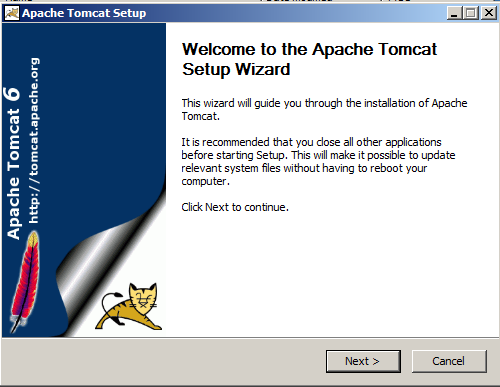
- Run the Apache Tomcat Windows Installer as Administrator.
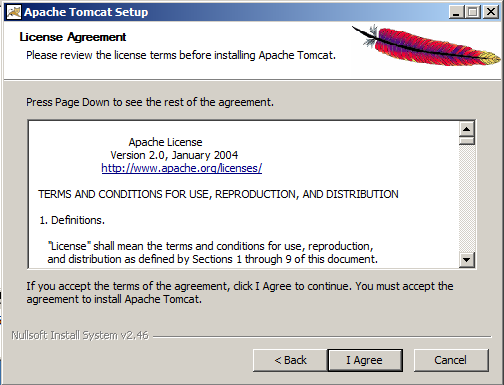
- Follow the instructions.
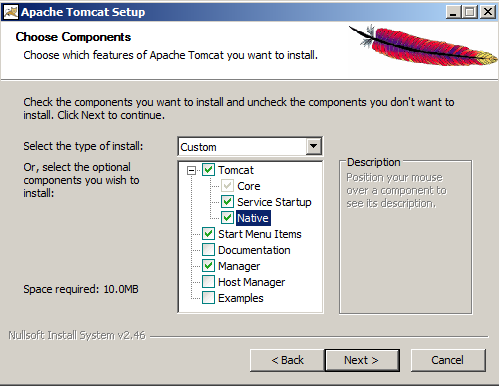
- Select Service Startup and Native options, then click Next.
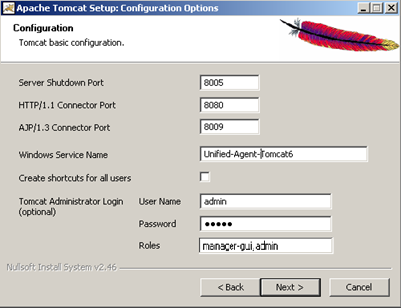
- Setup Service name, Ports, Administrator user, etc.
Administrator login should have the admin role to access JMelody (/monitoring) page. These settings and more can be modified later in conf/server.xml file. Care should be taken when editing this file. Only the default configuration modified using steps described here is supported. Other settings may not be supported (e.g. multiple hosts, clustering). Consult with an engineer before modifying this file to accommodate customer networking needs like redirction, HA, etc.
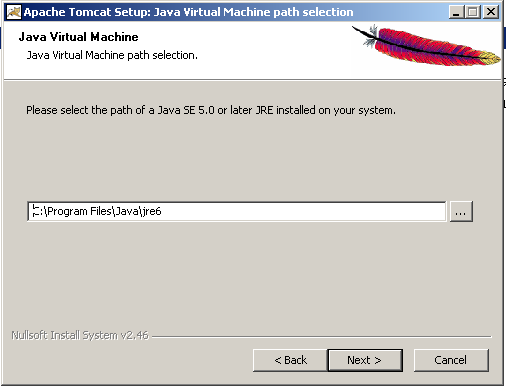
- Set JRE path.
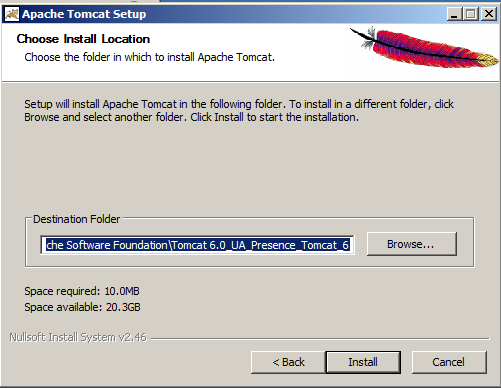
- Set install path.
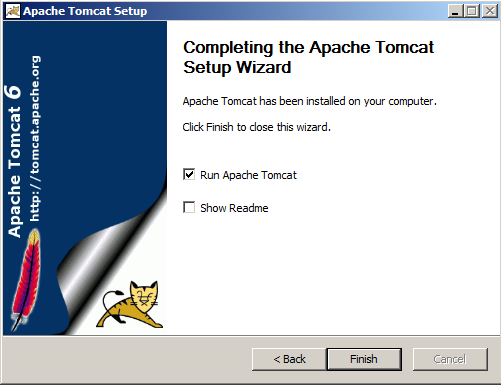
- Finish installation.
- Check service installation result.
- Modify the maxThread setting of the Connector as required by the anticipated load.
The default of 200 is enough for 200 event queue connections (each page, each API client has one of these), but requests also consume a thread for a short time, so the default supports about 100 users if each has one page. In server.xml modify the Connector definition:
<Connector port="8443" protocol="HTTP/1.1" SSLEnabled="true" maxThreads="1024" scheme="https" secure="true" SSLCertificateFile="..." SSLCertificateKeyFile="..." clientAuth="false" sslProtocol="TLS"/\>
- Set the maximum / minimum memory for the Tomcat JVM to 2048 / 1024 MB. This can be done with Tomcat8w.exe, running on the tray: right click -> Configure -> Java tab -> Initial memory pool / maximum memory pool
- Add the following JVM flags on the Java tab on the Tomcat config tool (Tomcat8w.exe):
    -Xloggc:\<logs folder\>/gc.log
    -XX:+PrintGCDetails
    -XX:+PrintGCDateStamps
This enables Garbage Collector logging.
- Restart the server. Consult Tomcat documentation for high-load installations for further optimization of Tomcat configuration.

WebServer Security hardening
Hardening security on Desktop Connect application WebServer please visit this article
Generate Self Signed Certificate
This section provides only one method of server self signed certificate creation.
Create Certificate Request for Web Server
- Login into the Desktop Connect Server with a domain user that is also local administrator on the machine.
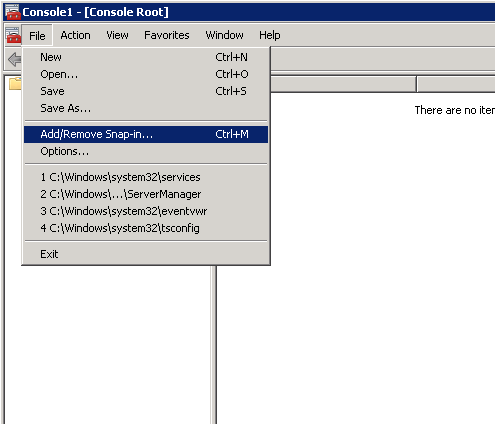
- Start the Management Console by typing mmc in the start menu.
- Click File.
- Click Add / Remove Snap-in.
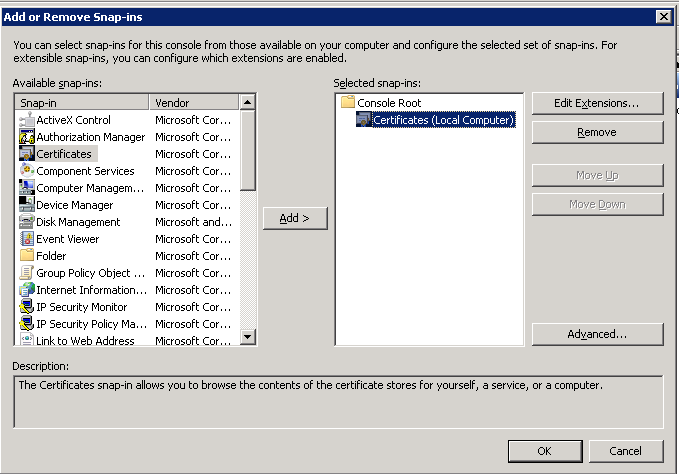
- Select the Certificate Snap-in and add it to the console.
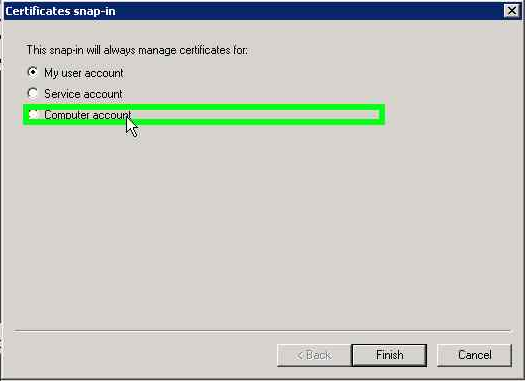
- Select Computer Account to manage the certificates installed on computer.
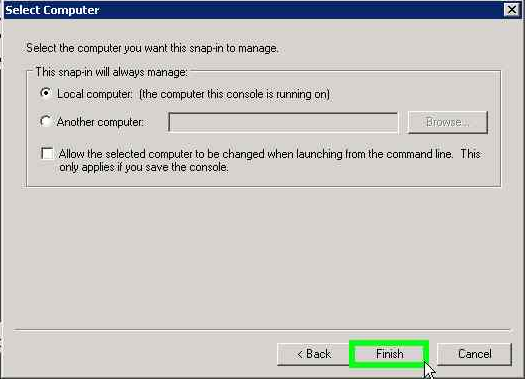
- Select Local Computer and finish the wizard.
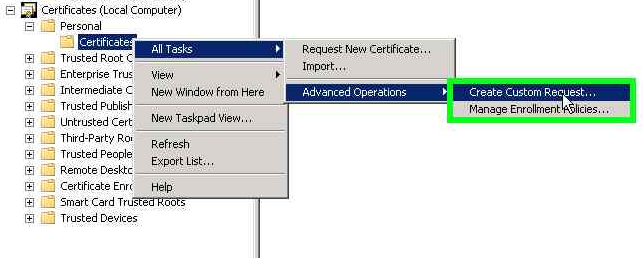
- Expand the Personal folder in the Certificates.
- Right-click on All Tasks.
- Select Advanced Operations.
- Create Custom Request.
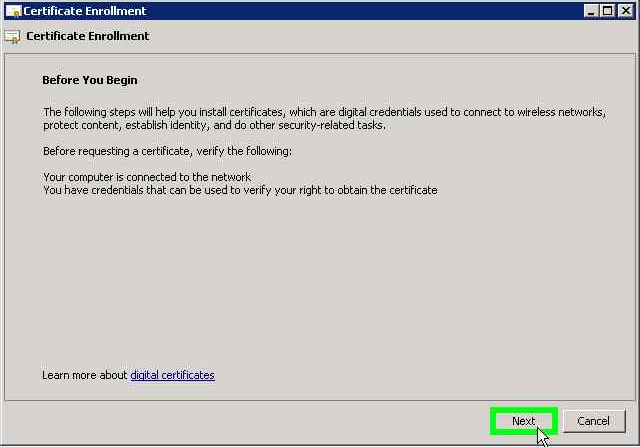
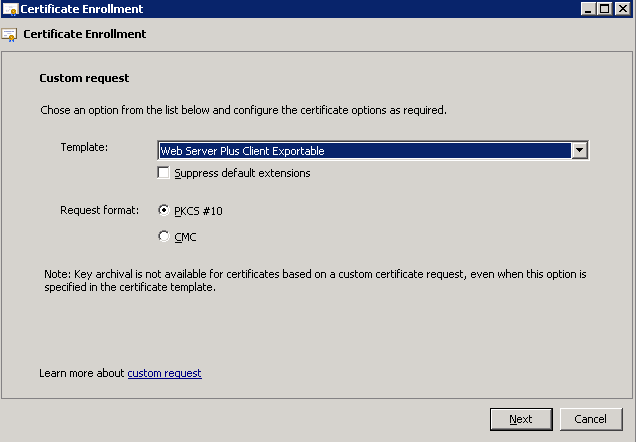
- Go to Start the certificate request.
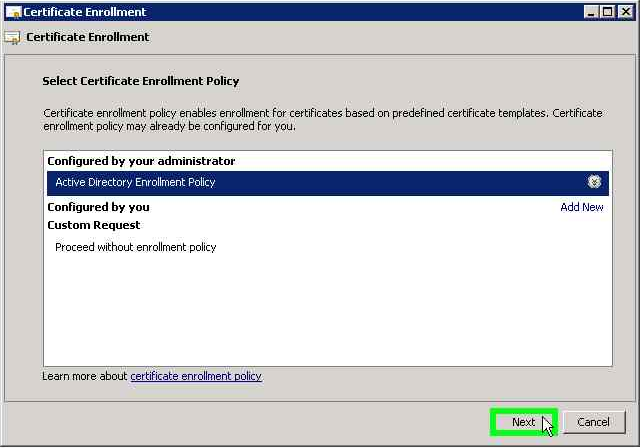
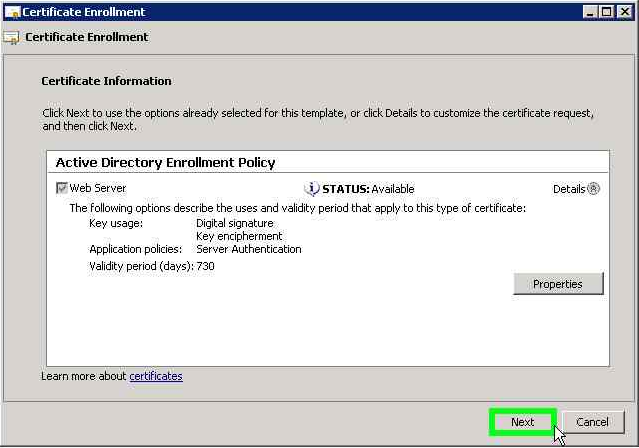
- Select the Enrollment Policy.
- Select the template of the certificate to the Reverse Proxy must select Web Server/Web Server Plus Client Exportable template.
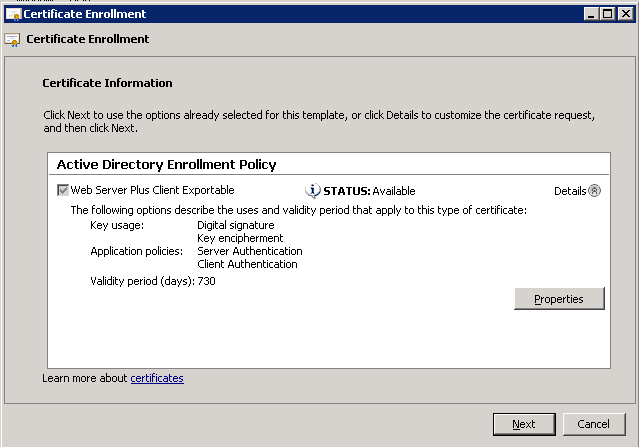
- Expand Details on the Certificate Information tab.
- Click ***Properties ***to configure the options of the Certificate.
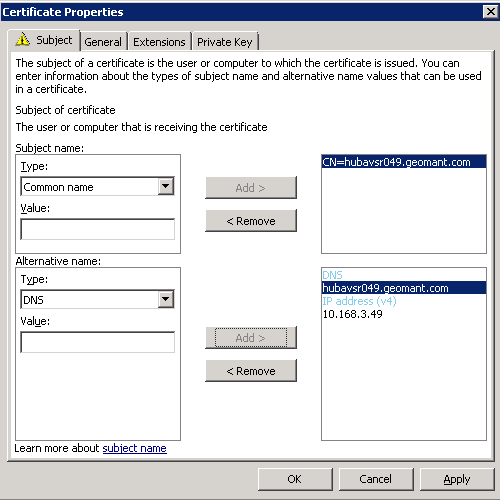
- Navigate to the Subject tab on the Certificate Properties page.
Specify the following: Common Name and Value set the FQDN of the primary service that uses the certificate – this is Desktop Connect server e.g. desktopconnect.yourdomain.com.
Select Typer as part of Alternative Name: IP and DNS.
Add all FQDN's that bear the certificate.
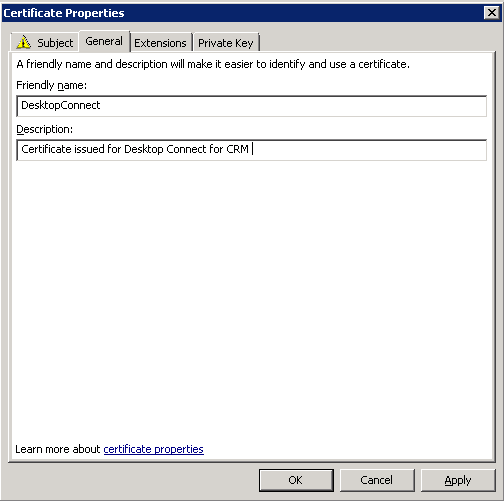
Set the Friendly Name of the certificate on the General tab. This option does not affect any functionality of the certificate. Just add a brief description of the functionality of the certificate.
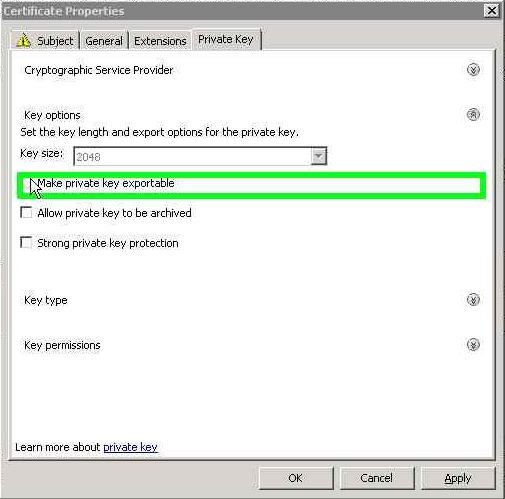
Expand the Key Options on the Private Key tab and check the Make Private key exportable. Apply the changes and finish the wizard.
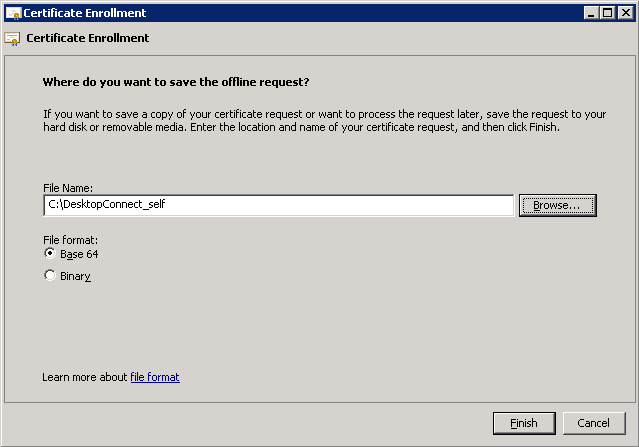
Select the folder where the request is saved under Certificate Enrollment advance and finish the assistant.
Download Certificate from CA (.cer file)
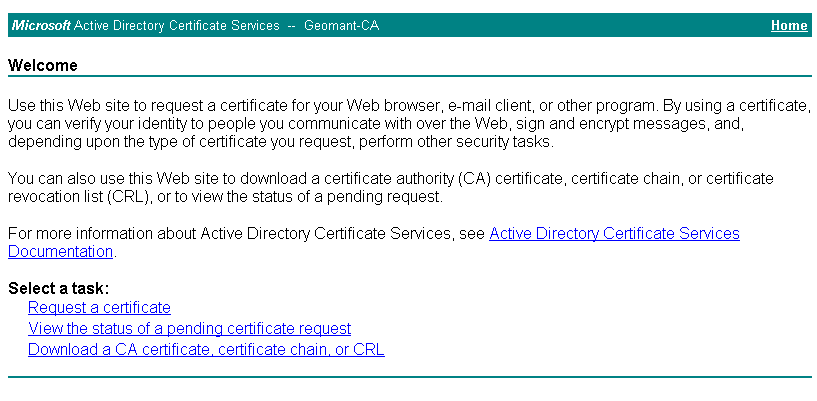
- Access the Active Directory Certificate Services on your network https://<FQDN Certificate Authority>/CertSrv
- Click Request Certificate.
- Click the Advanced Certificate Request.
- Select Submit a certificate request by using the base 64-encoded CMC or PKCS # 10 file, or submit a renewal request by using the base 64-encoded PKCS # 7 file.
- Open the request file (DesktopConnect_self) in Notepad, select and copy the entire content.
- Paste the content of the file request in the space Saved Request.
- Select the Certificate Template: Web Server/Web Server Plus Client Exportable.
- Click Submit.
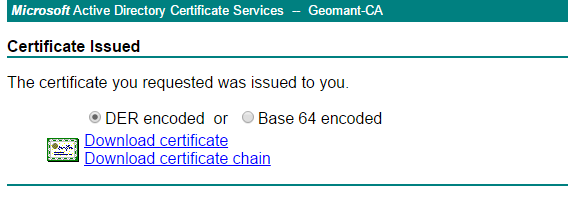
- The certificate will be generated.
- Click Download Certificate and save the certificate in a folder.
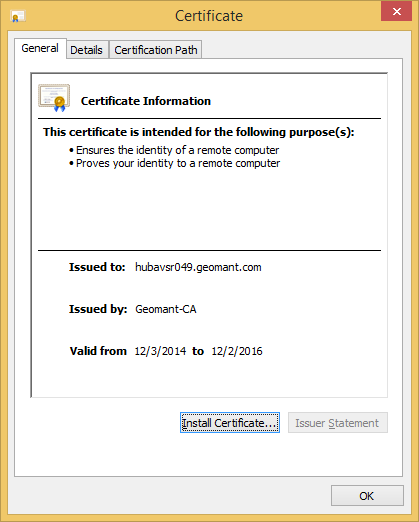
- Check that the settings of the certificate are correct and that the option of private key is present in the certificate.


Import the Certificate (.cer file)
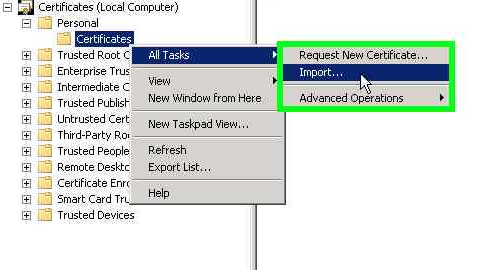
- Return to the Management Console and expand Personal.
- Right click on Certificates.
- Select All Tasks
- Click Import
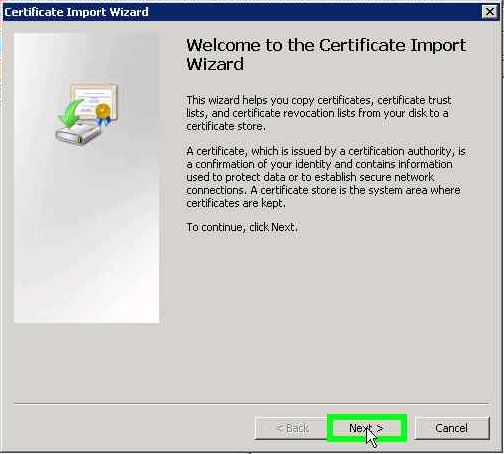
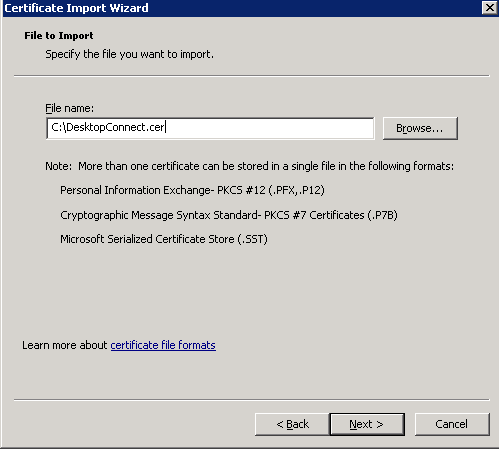
- Start the certificate import.
- Select the saved certificate.
- Go to the configuration of the Certificate Store.
- Finalize the wizard.
- The certificate must be imported and ready to be linked to services.
Export Certificate to PFX file
- Once the certificate was successfully installed, it is ready to be exported into PFX format.
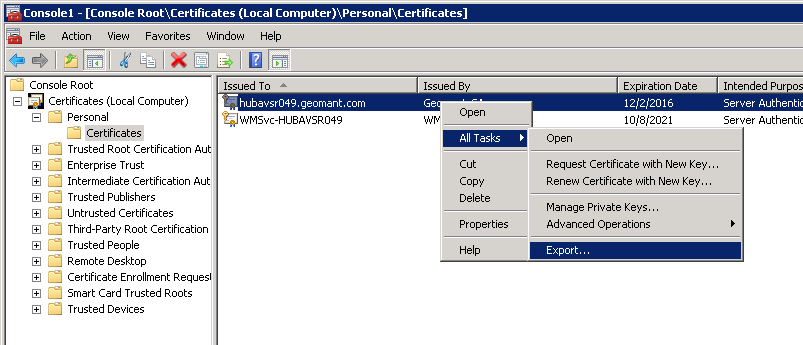
- Navigate to Personal → Certificates in the Management console.
- Locate the imported certificate.
- Right click on All Tasks → **Export.
- Click Next.
- Select **Yes, export the private key.
- Select **Personal Information Exchange* – PKCS #12 (.PFX)*
- Specify a password to protect the private key.
- Specify the file name.
- Complete the export.
Configure HTTPS on Tomcat
HTTPS has to be configured on the Desktop Connect server if Salesforce.com is only accessible over a secure hypertext transfer protocol.
In such scenario, it is strongly recommended that Desktop Connect web content is also served over HTTPS as the web browser tends to display on secured content and usually do not allow mixed mode.
Install OpenSSL and APR Native Library
OpenSSL
Locate the OpenSSL installer within the ISO image. Download is available via: https://slproweb.com/products/Win32OpenSSL.html
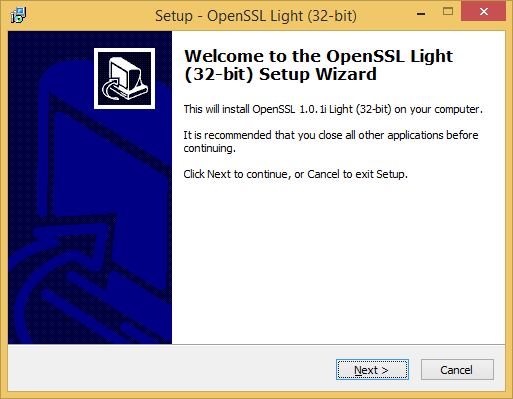
Execute the installer *Win32OpenSSL_Light-1_0_1i.exe.
*- Follow the standard installation steps. The application is installed on C:\OpenSSL by default.
APR Native Library
The Apache Tomcat Native Library is an optional component to use with Apache Tomcat. This allows Tomcat to use certain native resources for performance, compatibility, etc.
Specifically, the Apache Tomcat Native Library gives Tomcat access to the Apache Portable Runtime (APR) library's network connection (socket) implementation and random-number generator. See the Apache Tomcat documentation for more information on how to configure Tomcat to use the APR connector.
Features of the APR connector:
- Non-blocking I/O for Keep-Alive requests (between requests)
- Uses OpenSSL for TLS/SSL capabilities (if supported by linked APR library)
- FIPS 140-2 support for TLS/SSL (if supported by linked OpenSSL library)
Locate the APR native zip file tomcat-native-1.1.32-win32-bin.zip within the ISO image. Download is available via: http://tomcat.apache.org/tomcat-7.0-doc/apr.html
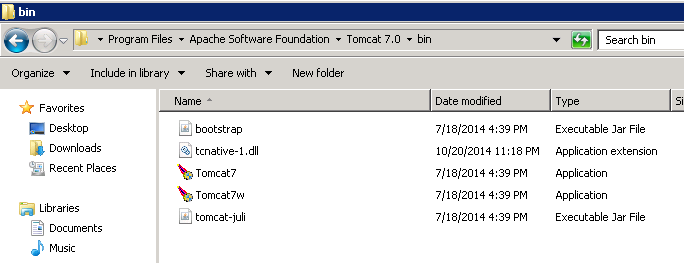
Extract the tcnative-1.dll that applies to your OS system.
- Place it in the Tomcat binary folder.
Configure Tomcat
Once the OpenSSL and APR Native library has been installed and configured on the system, the Tomcat configuration can be completed.
Run the following Open SSL commands using Windows Run command:
- Run the following command to export the private key, when prompted type in the password that was used to secure the private key:
openssl pkcs12 -in DesktopConnect.pfx -nocerts -out key.pem -nodes - Run the following command to export the certificate, when prompted type in the password that was used to secure the private key:
openssl pkcs12 -in DesktopConnect.pfx -nokeys -out cert.pem - Run the following command to remove the passphrase from the private key:
openssl rsa -in key.pem -out DesktopConnect.key
- Run the following command to export the private key, when prompted type in the password that was used to secure the private key:
Locate and open the *server.xml* file from the Tomcat installation. This should be located under: [TOMCAT Folder]/config/server.xml.
Make sure the following values are set in the server configuration:
<Connector port="8080" protocol="HTTP/1.1" connectionTimeout="20000" redirectPort="8443" /><Connector port="8443" protocol="HTTP/1.1" SSLEnabled="true" maxThreads="1024" scheme="https" secure="true" SSLCertificateFile="[CertificatePath]/DesktopConnect.cer" SSLCertificateKeyFile="[CertificatePath]/DesktopConnect.key" clientAuth="false" sslProtocol="TLS"/><!-- Define an AJP 1.3 Connector on port 8009 --><Connector port="8009" protocol="AJP/1.3" redirectPort="8443" /> e.g. [CertificatePath] = C:/Program Files/Apache Software Foundation/Tomcat 6.0/conf/Restart Tomcat.
This method requires OpenSSL and APR Native library to be installed on Tomcat.