Designing In-Queue Callbacks and Announcement Groups
Purpose of this Document
This guide describes the steps of creating and maintaining the In-Queue Callback entries and IVR lines registered via the portal.
Creating a New In-Queue Callback Entry
Creating a New IQCB Entry
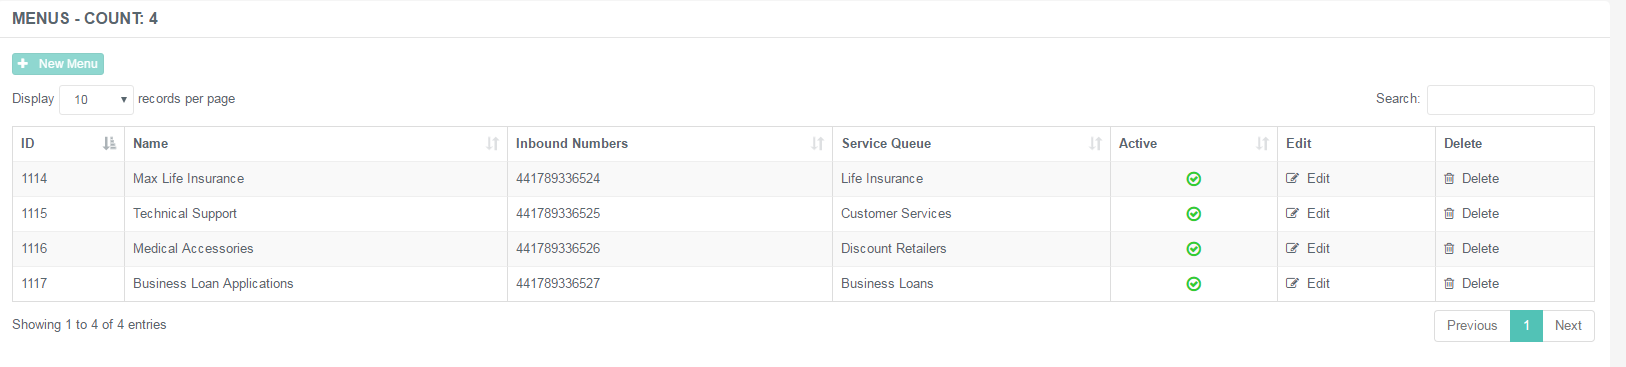
Navigate to IVR → Menus.
Use the +New Menu button to create a new entry.
Specify the details described below.
Click Submit to save the changes.
You need to have an Inbound Number and Announcement Groups created first in order to save an IVR Menu.
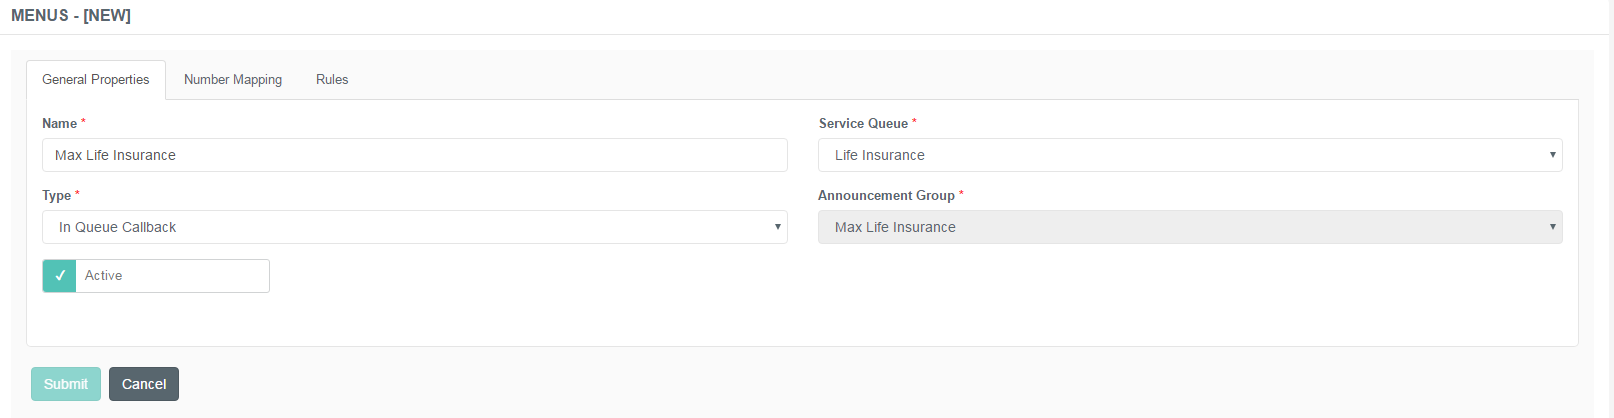
General Properties Tab
This tab represents the basic properties of an IVR line.
| Name | Unique designation of the IVR menu entry. |
| Service Queue | Select the service queue associated with this line. Available queues are related to the company where the portal user is registered. |
| Type | Select the type of the line. It can be either an In-Queue Callback line or an Out of Hours one. |
| Announcement Group | Select the announcement group associated with this line. |
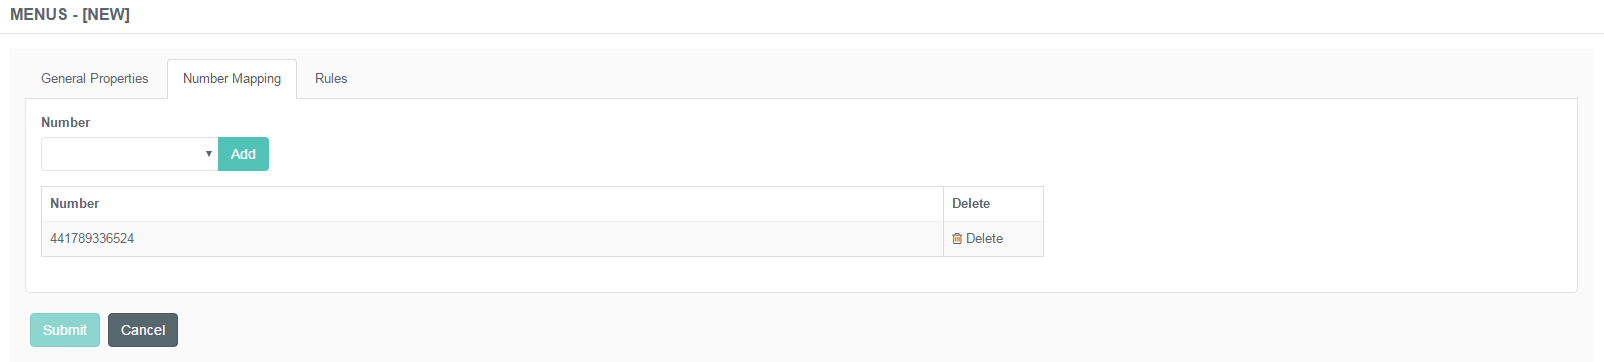
Number Mapping Tab
When a menu is configured an inbound public number needs to be assigned to the menu, so the in queue call back or out of hours service can be reached via this phone number.
Add Number Mapping
Specify the public number and click Add to include it in the list.
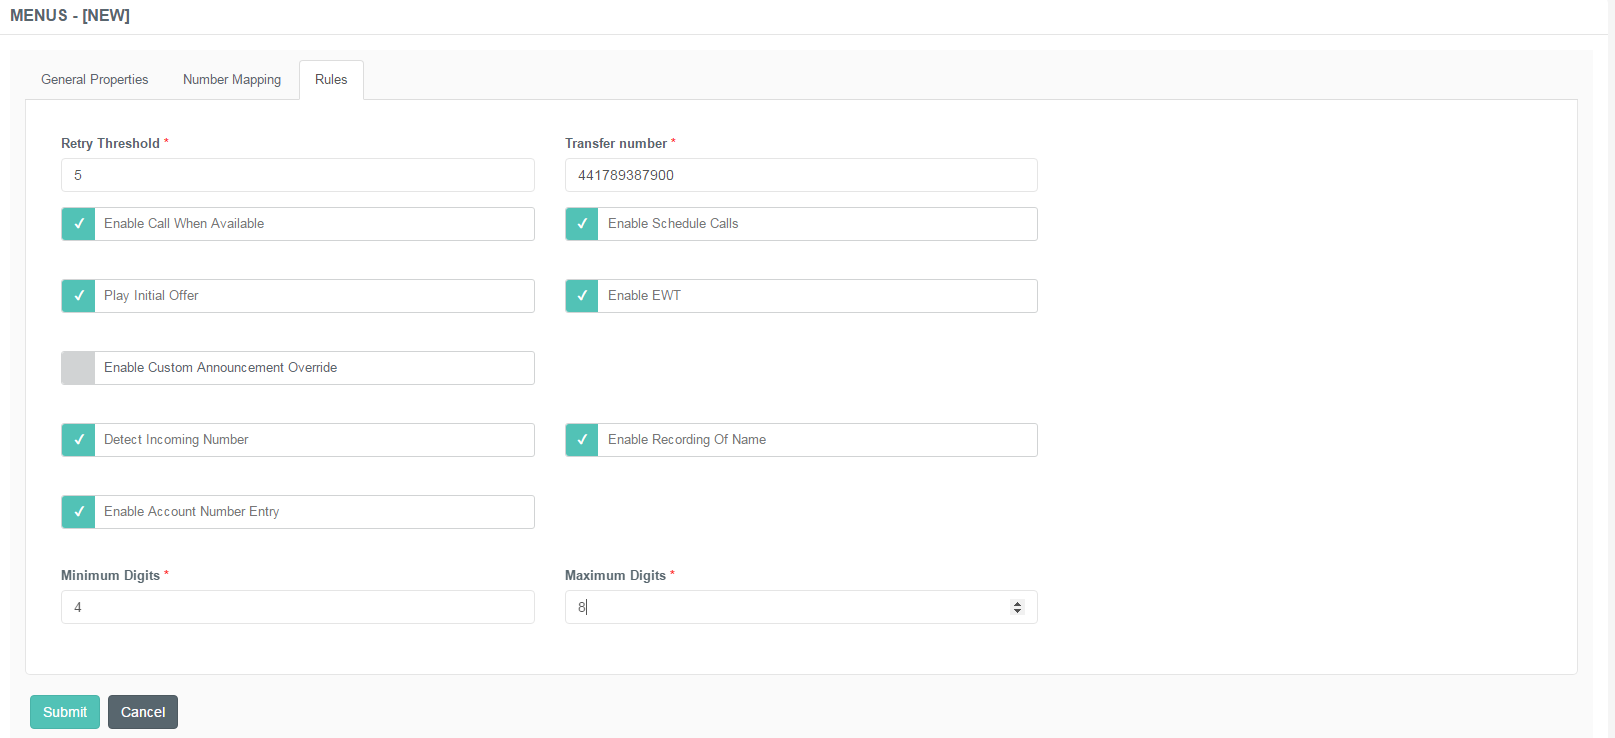
Rules Tab
This tab represents the Rules function. Here you can set how the actual IVR line should behave in certain scenarios.
| Retry Threshold | Specify the number of retry attempts (bad input or no entry) before transferring back to queue. |
| Transfer Number | Specify the number to transfer the customer's call to in case of unavailability or problems. |
| Enable Call When Available | Use this to enable the CWA feature for the specific IVR line. |
| Enable Schedule Calls | Use this to enable the callback offer with scheduling options. This is in relation with the callback slots specified for a service queue. |
| Play Initial Offer | Use this to enable the callback offer announcement at the beginning of the IVR line. |
| Enable EWT | Use this to enable the announcement of the EWT when being in the queue. |
| Enable Custom Announcement Override | Use this if the default announcements should be replaced with custom ones. |
| Detect Incoming Number | Detects the number of the incoming call if it is retained during transferring to Buzzeasy. |
| Enable Recording of Name | Use this to record the name of the contact, which can be announced to the agent as a whisper before the transfer. |
| Enable Account Number | Use this to collect the account number of the contact and announce it to the agent as a whisper before the transfer. Specify the minimum and the maximum number of digits. |
Announcement Overrides
This tab appears if the Enable Custom Announcement Override function is checked on the Rules tab.
Specify the following:
| Announcement Type | Select the announcement description from the drop-down list. |
| File Name | Enter the name of the announcement file. |
Announcement files should be sent over to Geomant to be uploaded.

Assigning Announcements to In-Queue Callback Menu
Here you can manage the announcement groups tailored to a company's needs and requirements. These specially created groups can be assigned to the different IVR lines.
Create a New Announcement Group
Navigate to IVR → Announcement Groups.
Use the +New Announcement Group button to create a new entry.
Specify the details described below.
Click Submit to save the changes.
Specify the following:
| Name | Specify a unique designation for the group. |
| Company | Select the company associated with the group. |
| Announcement Style | Choose whether the announcement is TTS or a sound file. |

TTS Announcements
This tab appears if the TTS Announcements style is selected.
| Announcement Type | Select the announcement description from the drop-down list. |
| Text | Enter the text of the announcement. |
| Create Default Entries | It creates a list of default TTS messages for message types. |

Sound File Announcements
This tab appears if the Sound File Announcements style is selected.
Only .wma file extension can be uploaded.
The files need to be in the following format:
| File format / codec | WMA |
| Channels | 1 (mono) |
| Sample rate | 16 KHz |
| Sample size | 16 bit |
| Encoding bit rate | 16 Kbps |
| Maximum file size | 4 MB |

Notice on Sound File Announcements
The newly created Announcement Group must be saved first in order to add audio files to it!
During the process of creating a new group on the Sound File Announcement tab an error message prompts the user to save the record first before uploading the files.

| Announcement Type | Select the announcement description from the drop-down list. |
| File | Choose the relevant audio file to add to the list. |
| Upload | Uploads the selected file to the particular announcement group. |
Uploading Announcement Audio Files
Customers have the possibility to upload their own pre-recorded audio files to various announcement groups.
Create a New Announcement Group
Navigate to IVR → Announcement Groups.
Create the new Sound File Announcement Group as described above.
After saving the entry you will be navigated back to the Summary page where all the announcement groups are listed.
Click Edit of the newly created announcement group.
On the Sound File Announcement tab, select the type of the particular message.
Browse the file on your storage location.
After selecting the file, click Upload to add it to the list.

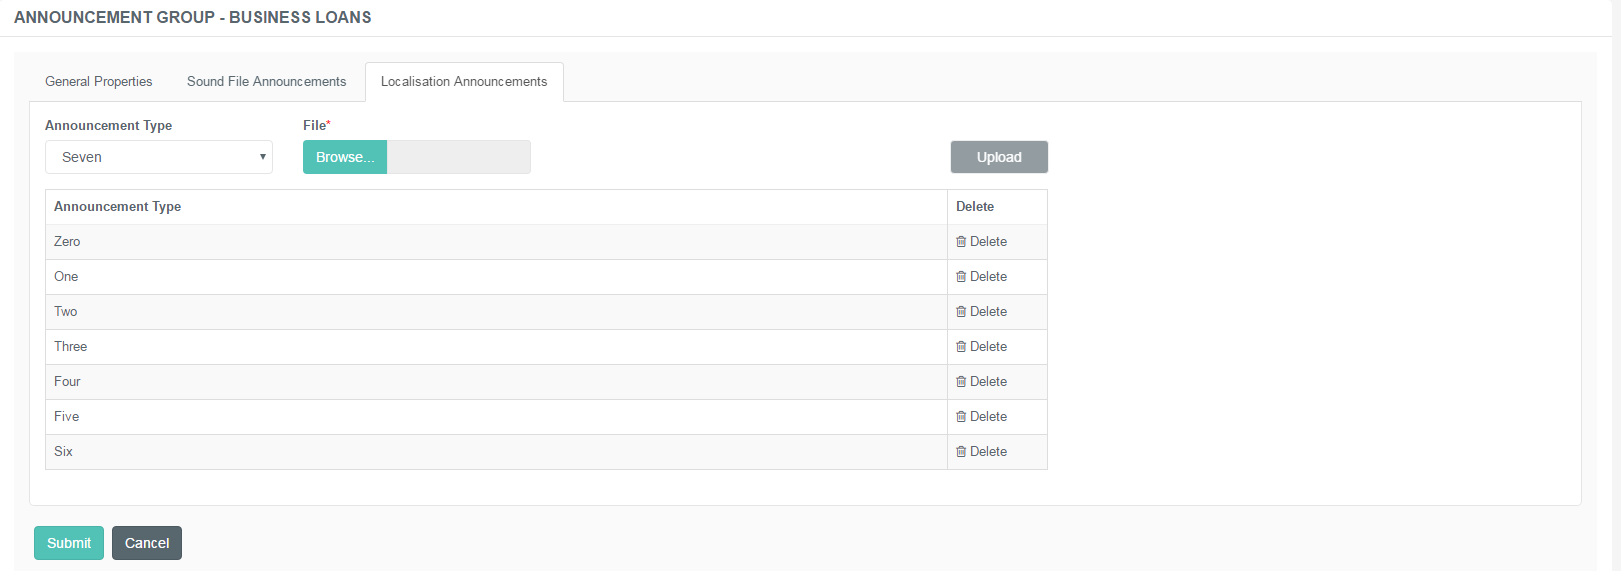
Localisation Announcements
The localisation bundle is a separate set of custom announcements for numbers and dates. These can be uploaded in a different tab of the Announcement Group menu.
Navigate to IVR → Announcement Groups.
Create the new Sound File Announcement Group as described above.
After saving the entry you will be navigated back to the Summary page where all the announcement groups are listed.
Click Edit of the newly created announcement group.
On the Localisation Announcements tab, select the type of the particular number or date message.
Browse the file on your storage location.
After selecting the file, click Upload to add it to the list.